Unity 3D Karting Game Streaming Example
Overview
In this tutorial, we will see how we can integrate the Dolby.io Real-time Streaming Publisher and Player plugins for Unity into an actual 3D Karting Game. Specifically, we will learn how to integrate the Camera Publisher into our game character, so we can publish a first person view of the world, and add a Stream Player, to render that same stream, coming from the Dolby.io Real-time Streaming service, into the game HUD.
Download the Karting Microgame bundle
From the Unity Hub, create a new project, and select the Karting Microgame bundle from the Learning tab:

Note: This might not appear for older Unity Versions, it is best to use version
2021and above.
Once that is done, add the Dolby.io Real-time Streaming Publisher and Player plugins for Unity, like we did in the earlier tutorial, to our project. Do not forget to import the Samples from the Package Manager window.
Now, our scene will initially look like this:

What we will do in this tutorial, is publish a first person view of the kart driver to the Dolby.io Real-time Streaming service, and also, render that same stream onto the game HUD on the side.
Adding credentials
Create an account or log into [https://dolby.io/products/real-time-streaming](https://dolby.io/products/real-time-streaming and create a publishing token. For more information, see About the dashboard.
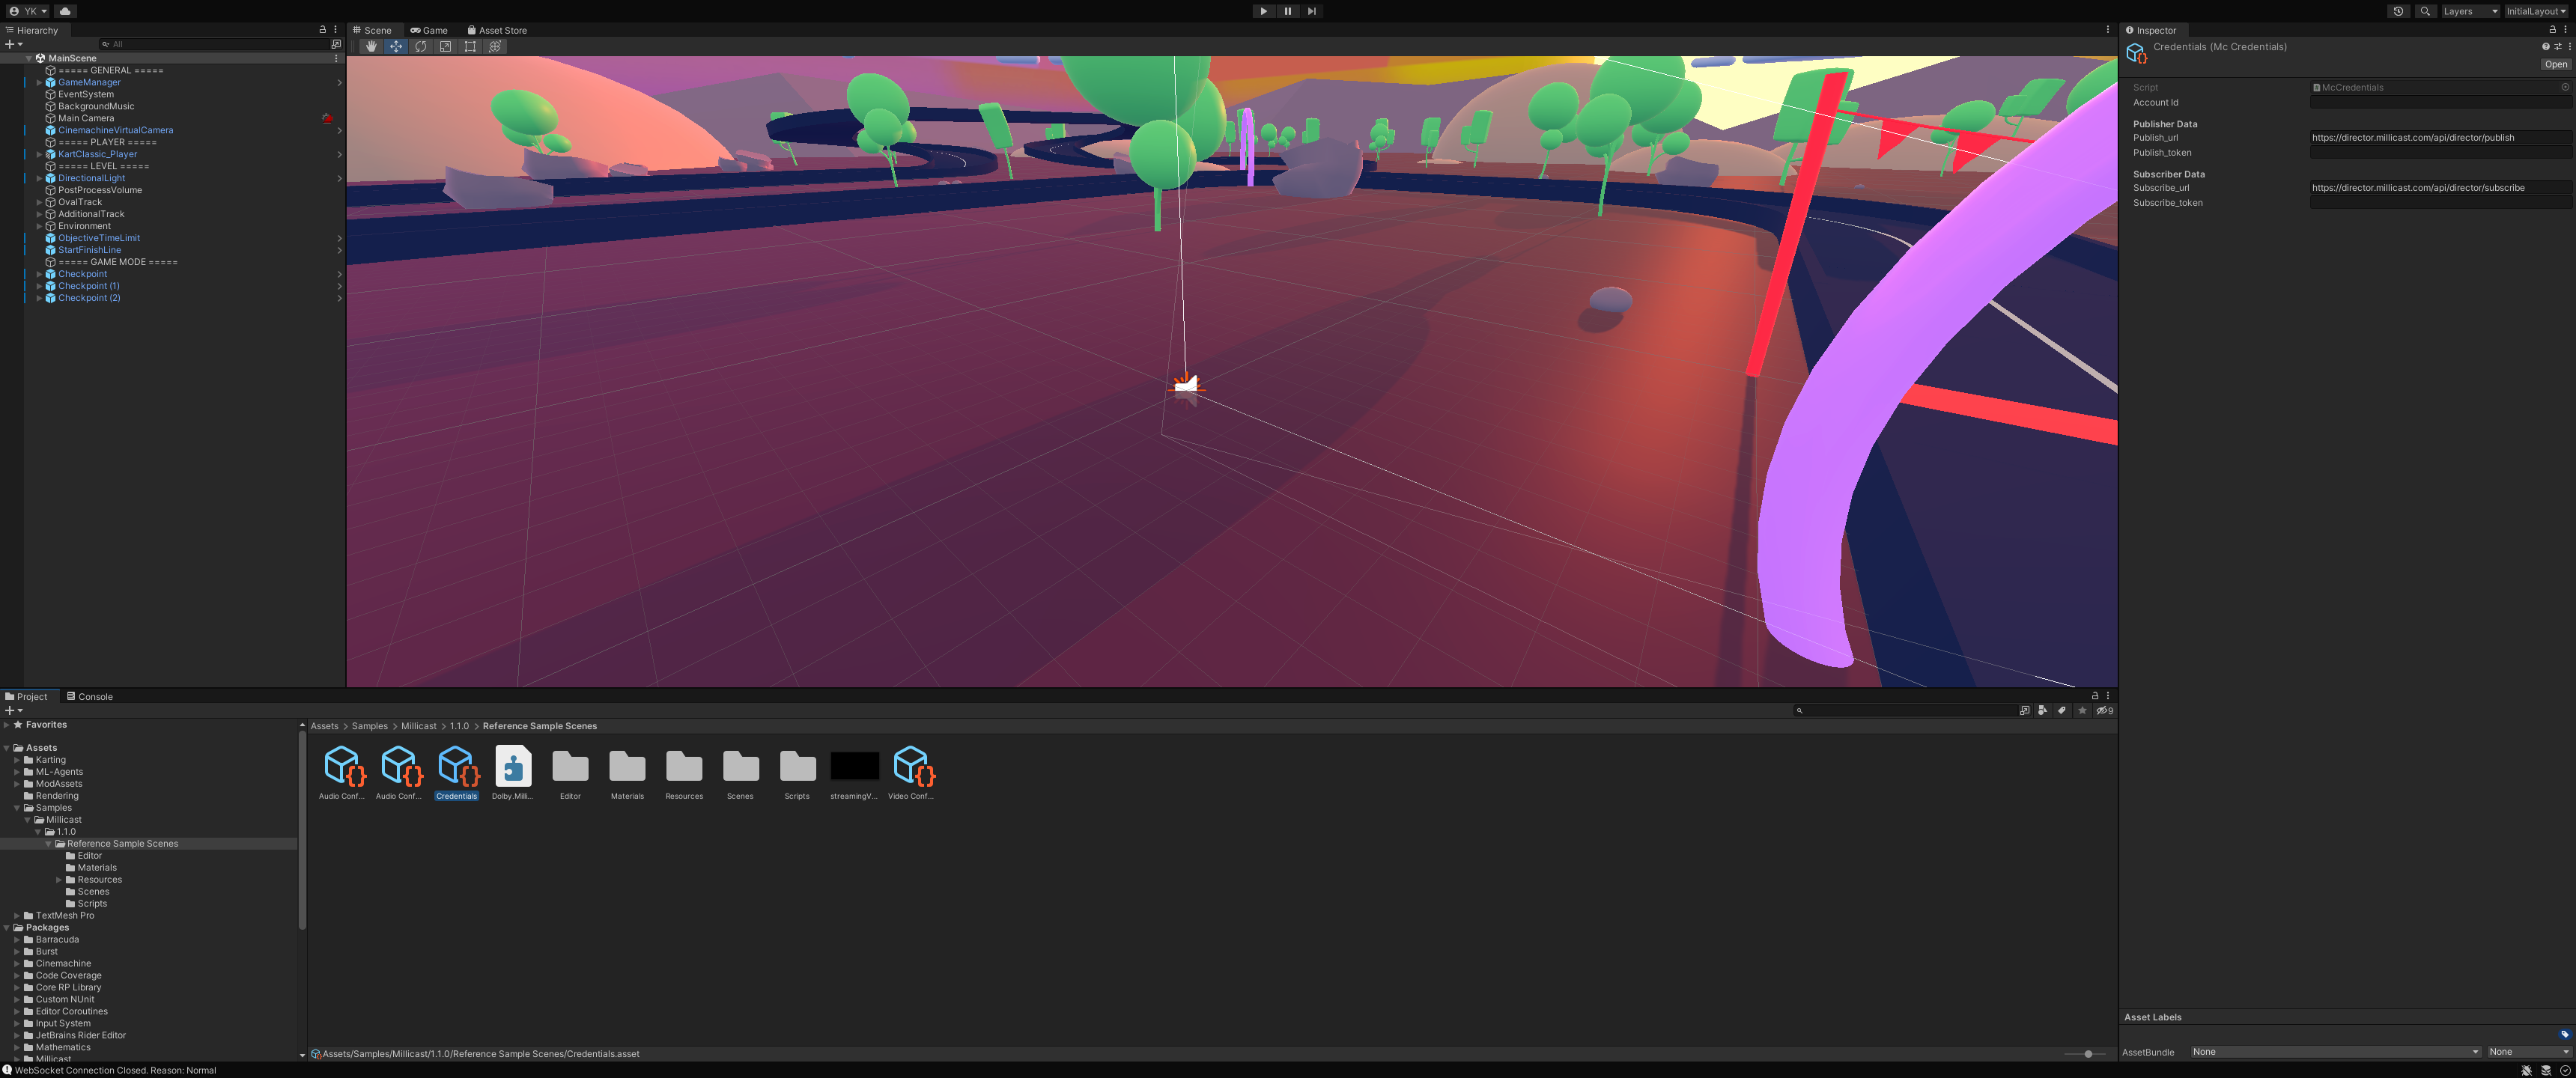
In the Unity Editor, fill in the credentials (account ID and publishing token) in the McCredentials asset stored inside the Samples > Millicast > 1.1.0 > Reference Sample Scenes folder:
Adding a VirtualStreamCameraPrefab to the head of the player
VirtualStreamCameraPrefab to the head of the playerGo to the Resources inside Reference Sample Scenes, and create an instance of VirtualStreamCameraPrefab inside the KartClassic_Player prefab under the PLAYER section of the Hierarchy. To be able to modify the mentioned prefab, we need to unpack it first. Drag the VirtualStreamCameraPrefab under KartClassic_Player and the following menu appears. Click on Open Prefab, and then finally we can add our camera.

Once the VirtualStreamCameraPrefab has been added, it will look like this:
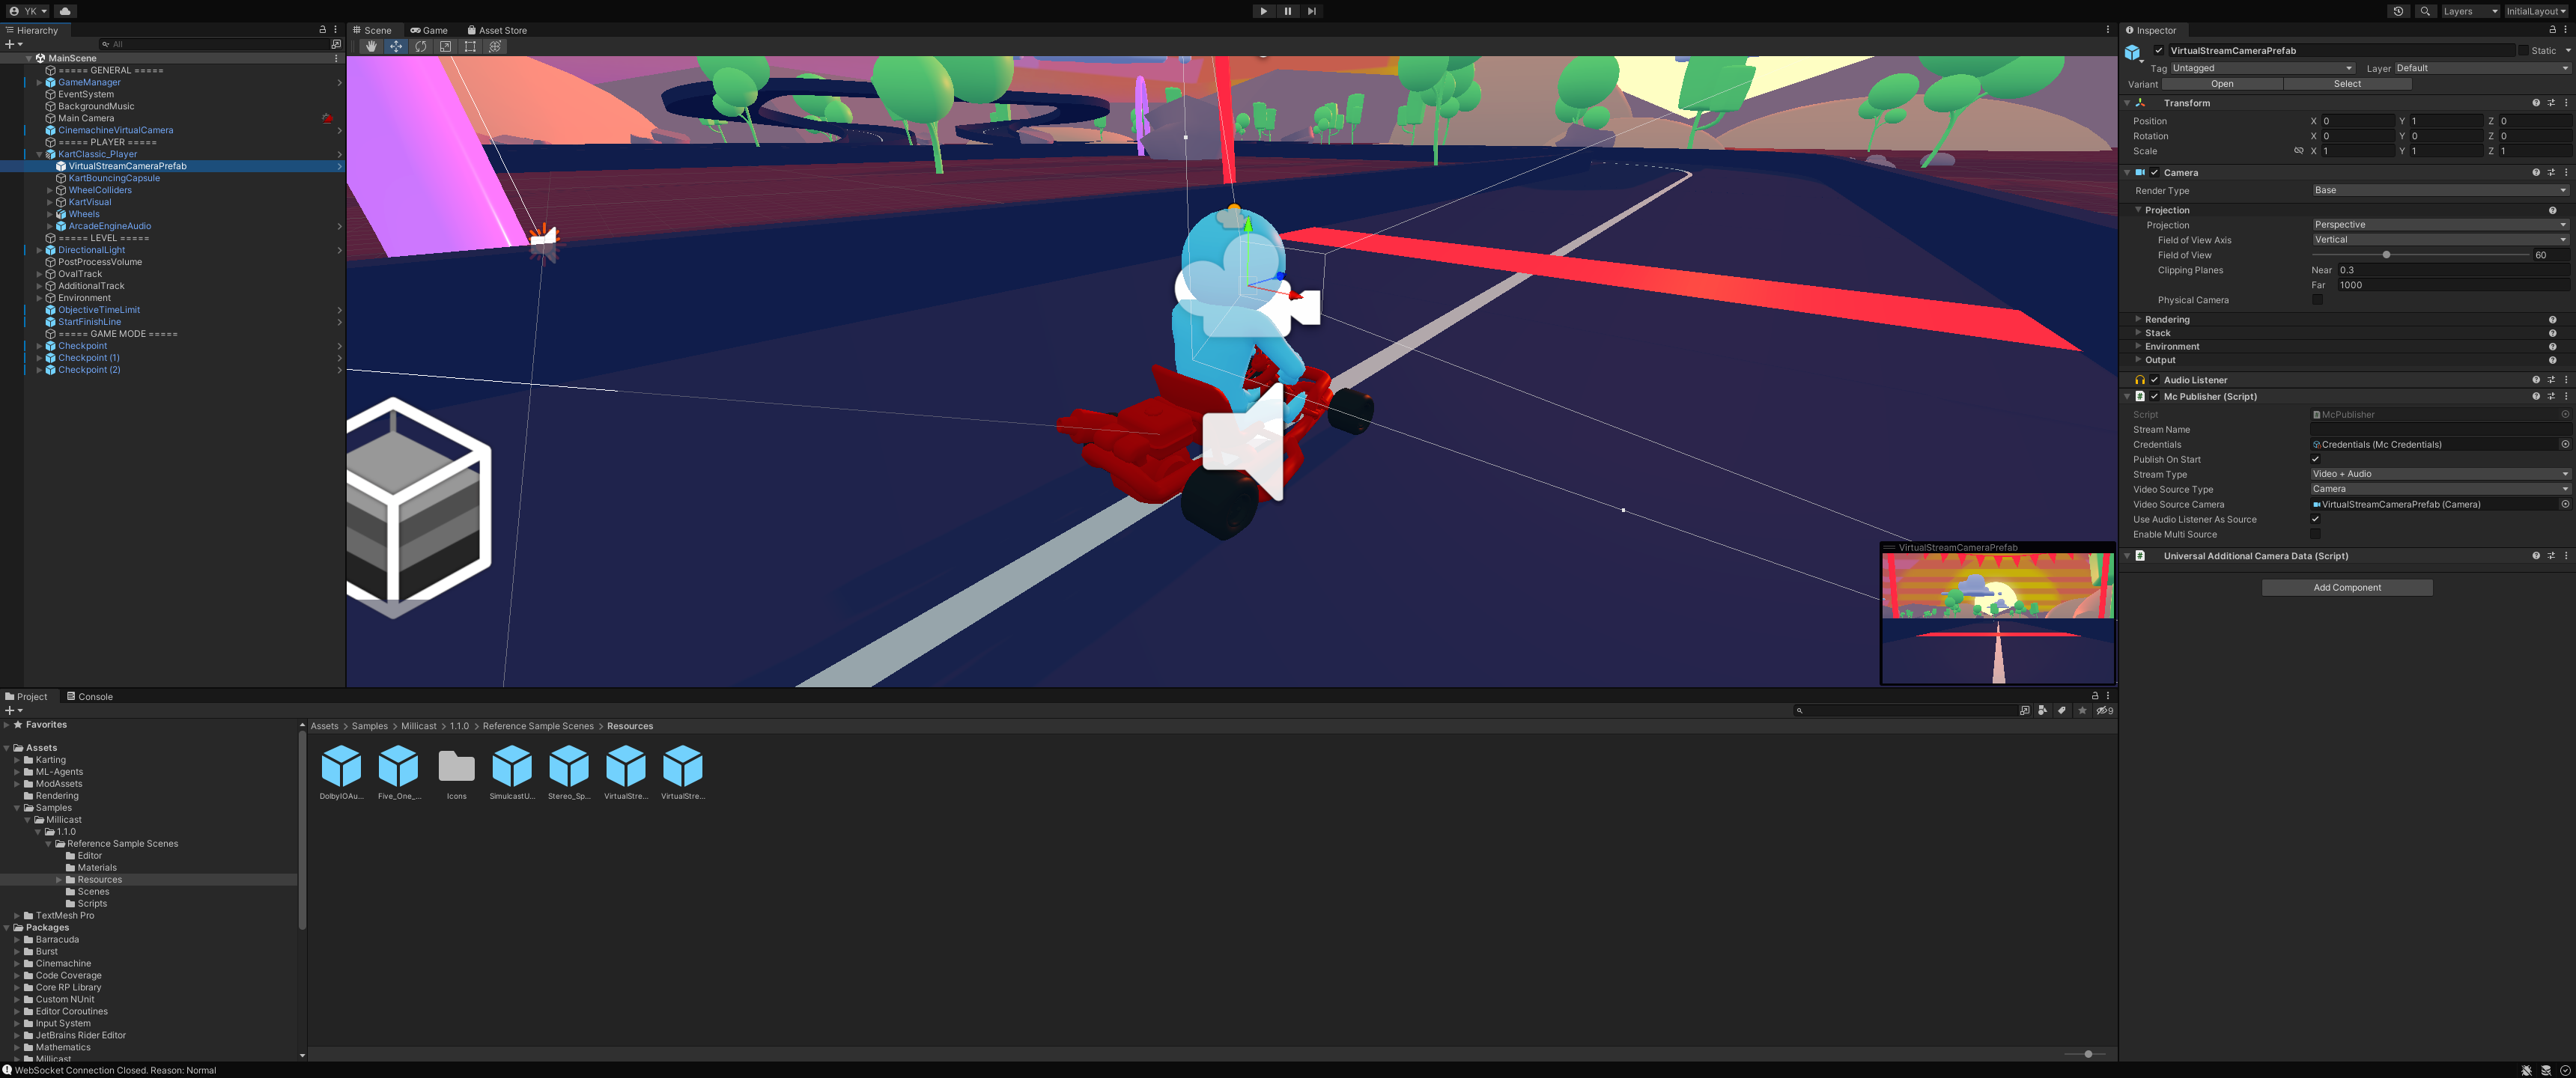
Notice the VirtualStreamCameraPrefab is showing the road in-front of the player.
We also need to disable the Audio Listener component within the Main Camera, since VirtualStreamCamera already has an Audio Listener. Otherwise, Unity will print out warning in the debug console:

Now, we can start our scene and start publishing.
Note: As before, a debug log statement will print out the web viewer url, which looks something like
https://viewer.millicast.com/?streamId={accountID}/{streamName}
Here is the web viewer side by side to the editor, while playing the game:

Rendering the published stream onto the game HUD
Now, we need to modify the HUD so that we can render the first-person stream we published. Since we are modifying a UI Canvas, we need to attach an McSubscriber script, which is a script that allows us to subscribe to remote Dolby.io Real-time Streaming streams, and render them onto Materials and RawImages. We will be rendering onto the latter, since we are using a UI HUD.
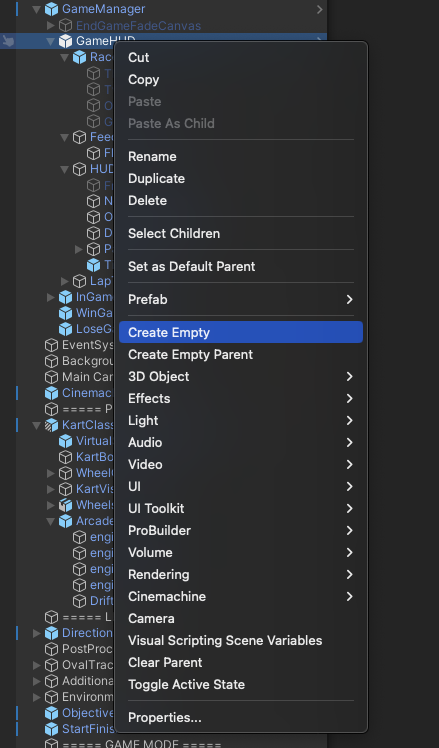
First, let us create an empty object under GameHUD and call it Subscriber:
Add an McSubscriber to the Subscriber object we just created:

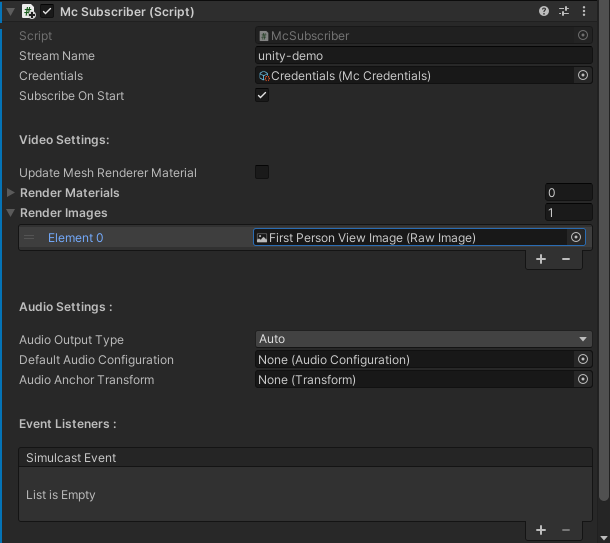
Fill in the Credentials and Stream Name fields within Mc Subscriber. Make sure to use the same stream name you used for publishing:
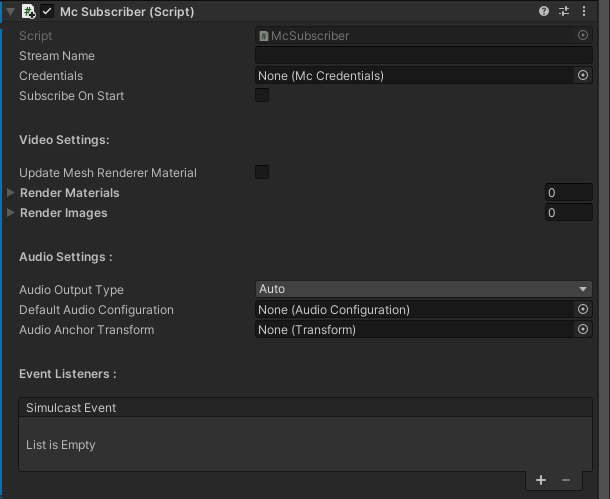
You can point Credentials to the same Credentials Scriptable Object we filled at the beginning inside Reference Samples:

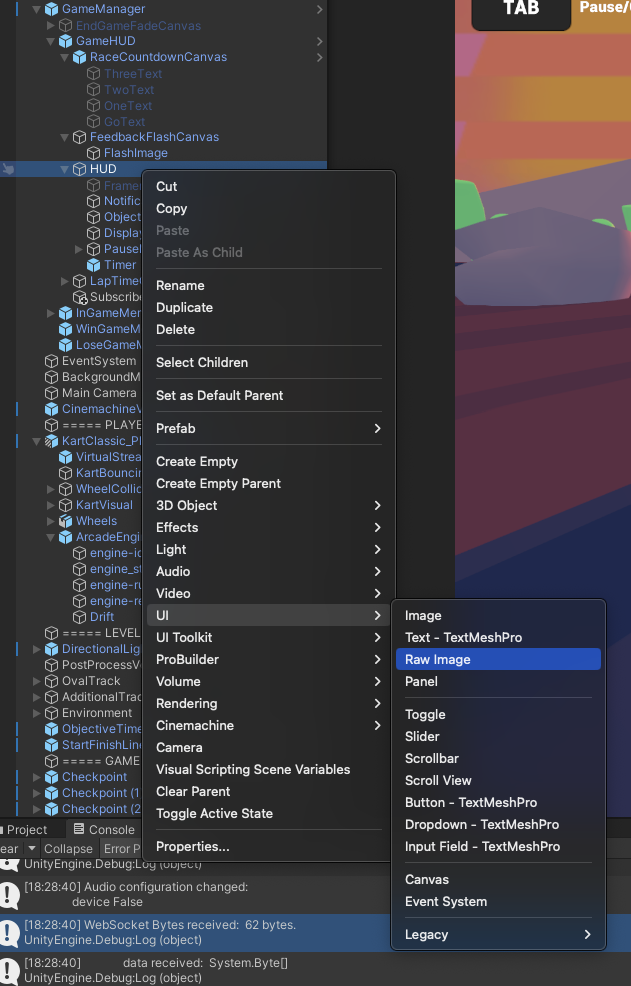
Next, add a RawImage to the HUD to render the incoming video stream. Create UI > RawImage inside the HUD component of GameHUD. Rename the image to First Person View Image so we can identify it easier later:
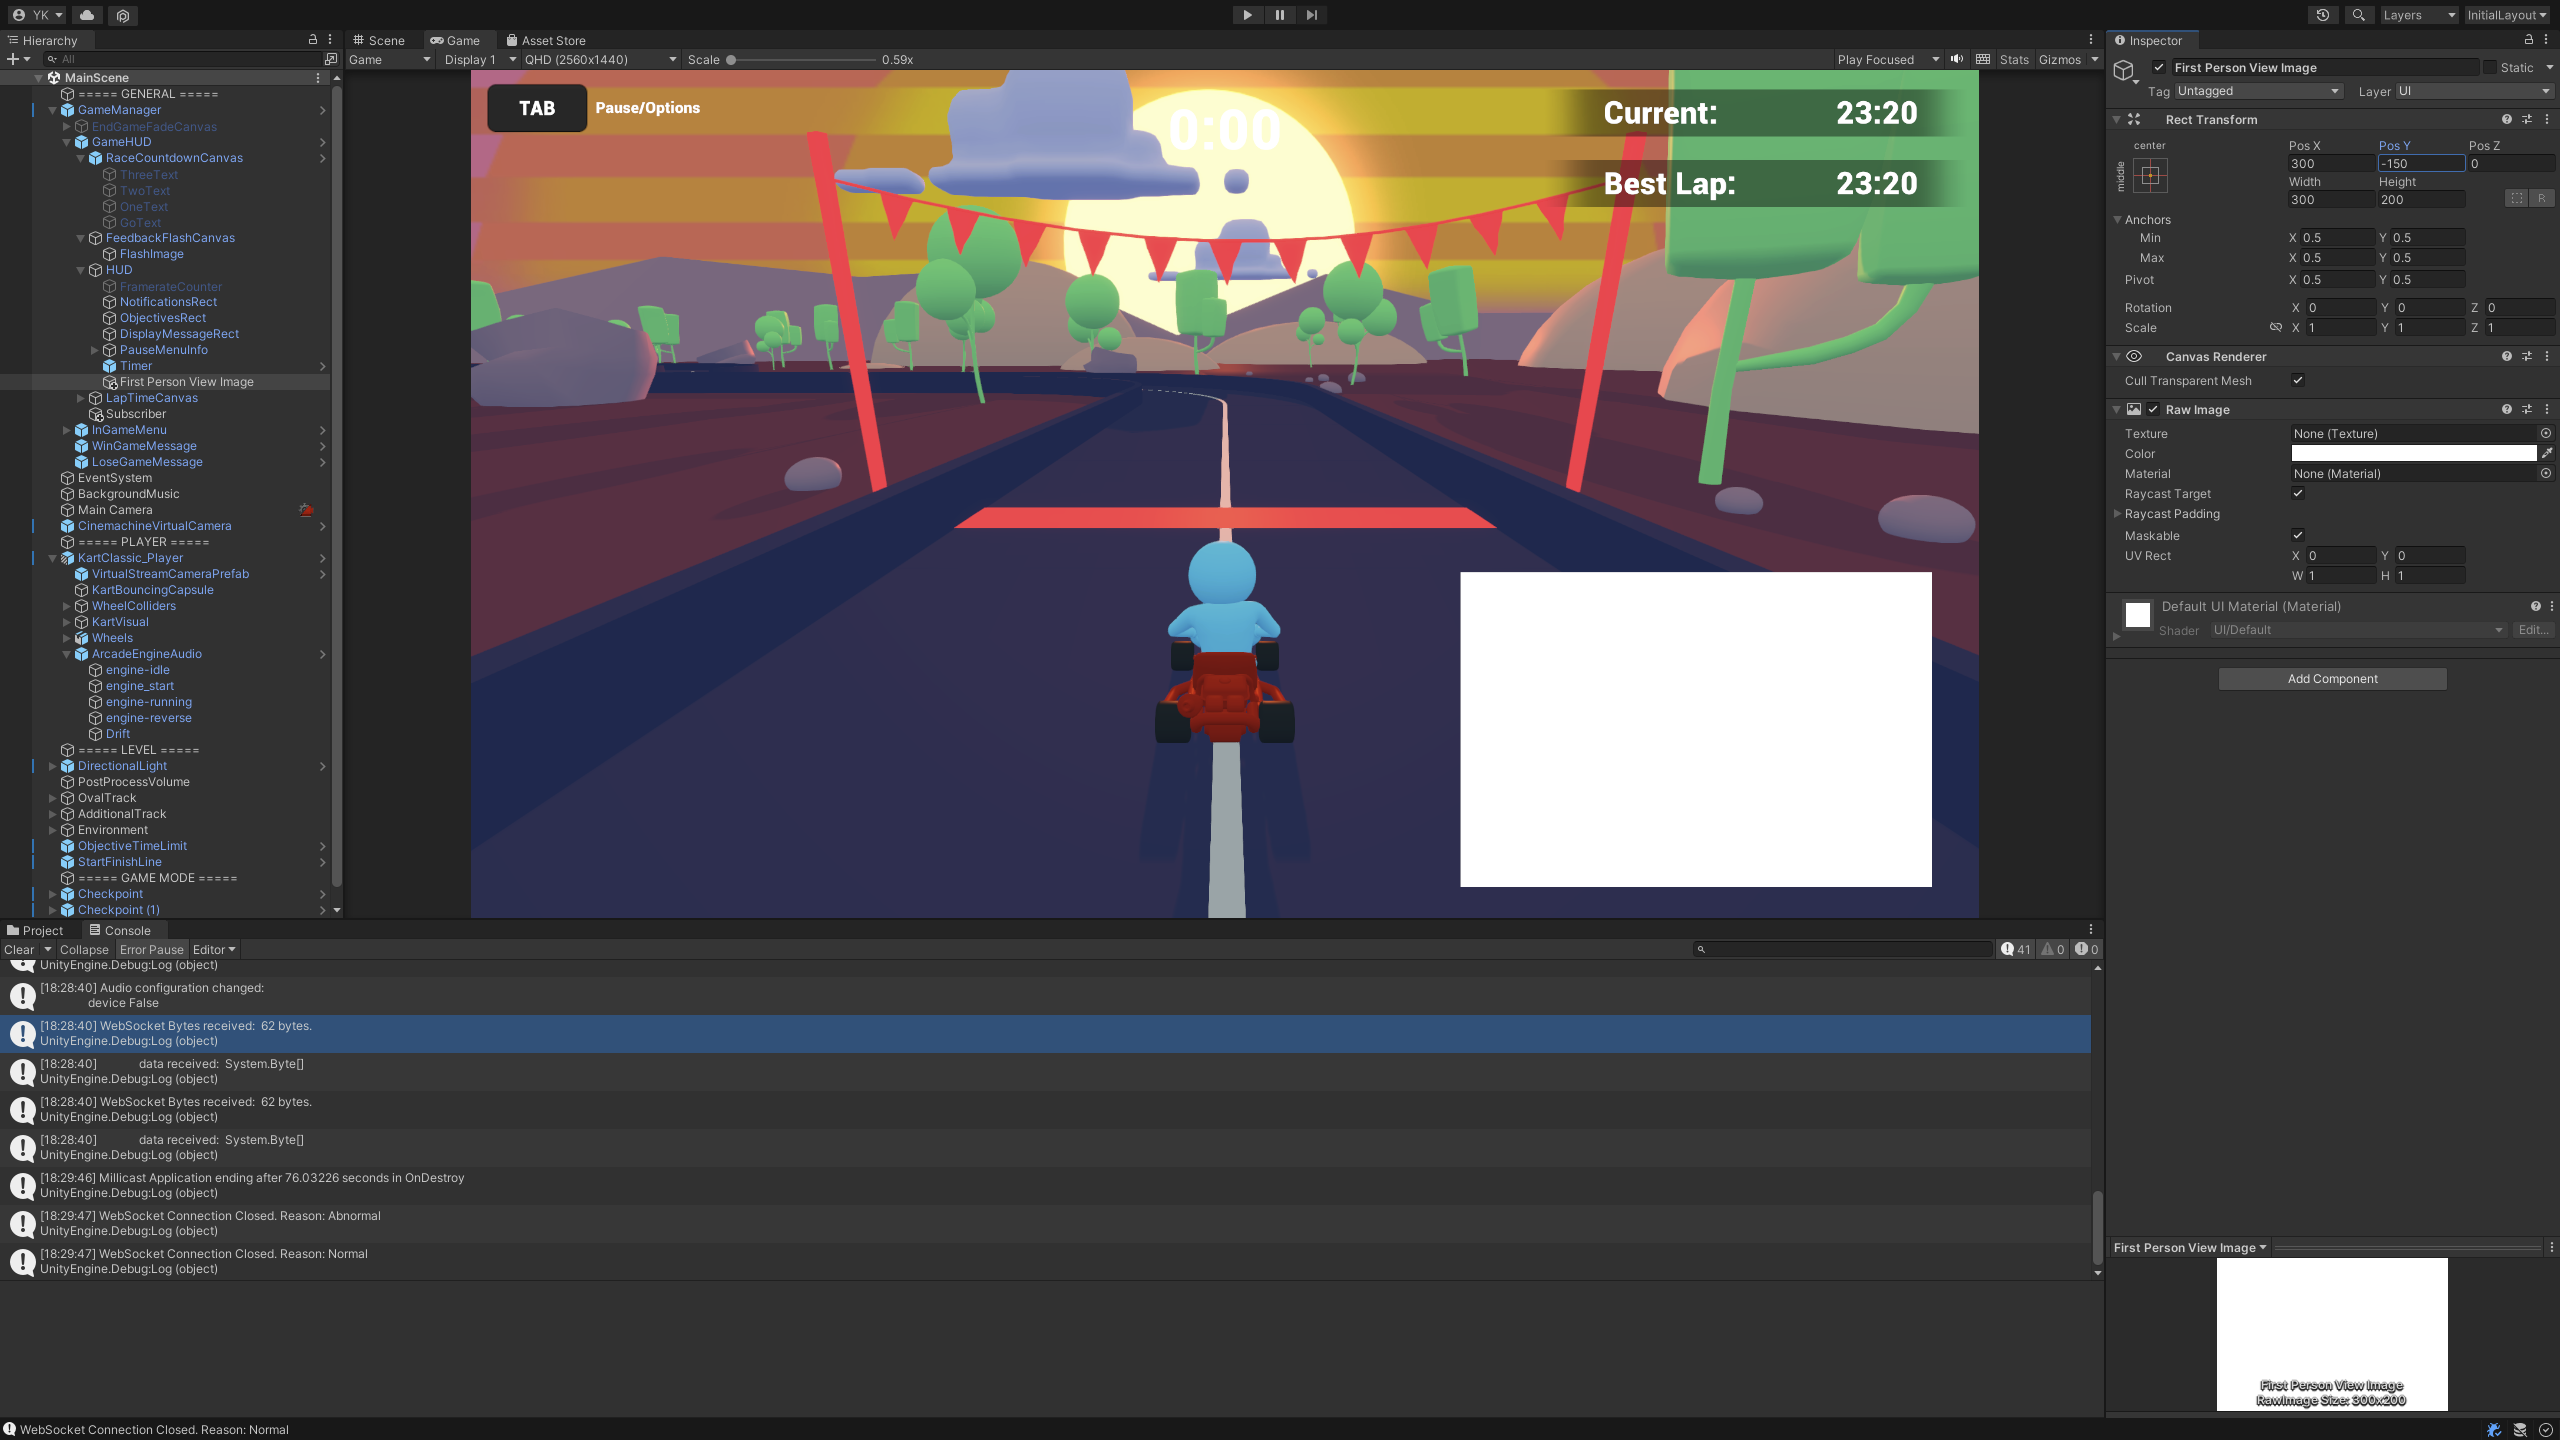
Click on the RawImage and change the transform to the following coordinates:

Note the Pos X, Pos Y, Width and Height
The HUD will look like the following:
Finally, hook up the RawImage we created to the Mc Subscriber component we added to our Game HUD object. Navigate to the component, and under Render Images, add our newly created image First Person View Image. Check the Subscribe On Start field to subscribe to the stream when the scene and the Game HUD starts:
We can now start the scene, and observe the first person view we are publishing be rendered back onto our HUD:

Updated 4 months ago