Subscribe Tokens
Learn How-To Mange Viewer Access with Dolby.io Subscribe Tokens
Unlike publishing a broadcast, the subscriber (viewer), by default, does not need a token to view a stream. However, if you want to secure your feed from being viewed by non-authenticated users, Dolby.io Streaming provides the ability to use subscribe tokens.
When enabled, streams that require a subscribe token will block access to users not in possession of a valid token coming from a valid domain. This makes subscribe tokens useful for protecting paywalled content or non-public content. Subscribe tokens also allow you to add time limits, specify IPs, and even set the token to only work from single or multiple specified domains.
This guide outlines the following:
- How to Create a Subscribe Token
- How to Manage or Edit Existing Subscribe Tokens
- How to Delete a Subscribe Token
- How to Self-Signing Subscribe Tokens
- Using the Token API
Creating a subscribe token
Enable Secure Viewer
Before we can create a Subscribe token, we must first have a stream that requires a Subscribe token. These streams are referred to as Secure streams and need to be enabled within a Publish token by enabling "Secure viewer". To learn where to enable "Secure viewer", check out this guide on creating a Publish token.
To get started, login to your Dolby.io Real-time Streaming account and select Subscribe tokens from the left menu. Here you can create and manage your subscribe tokens.
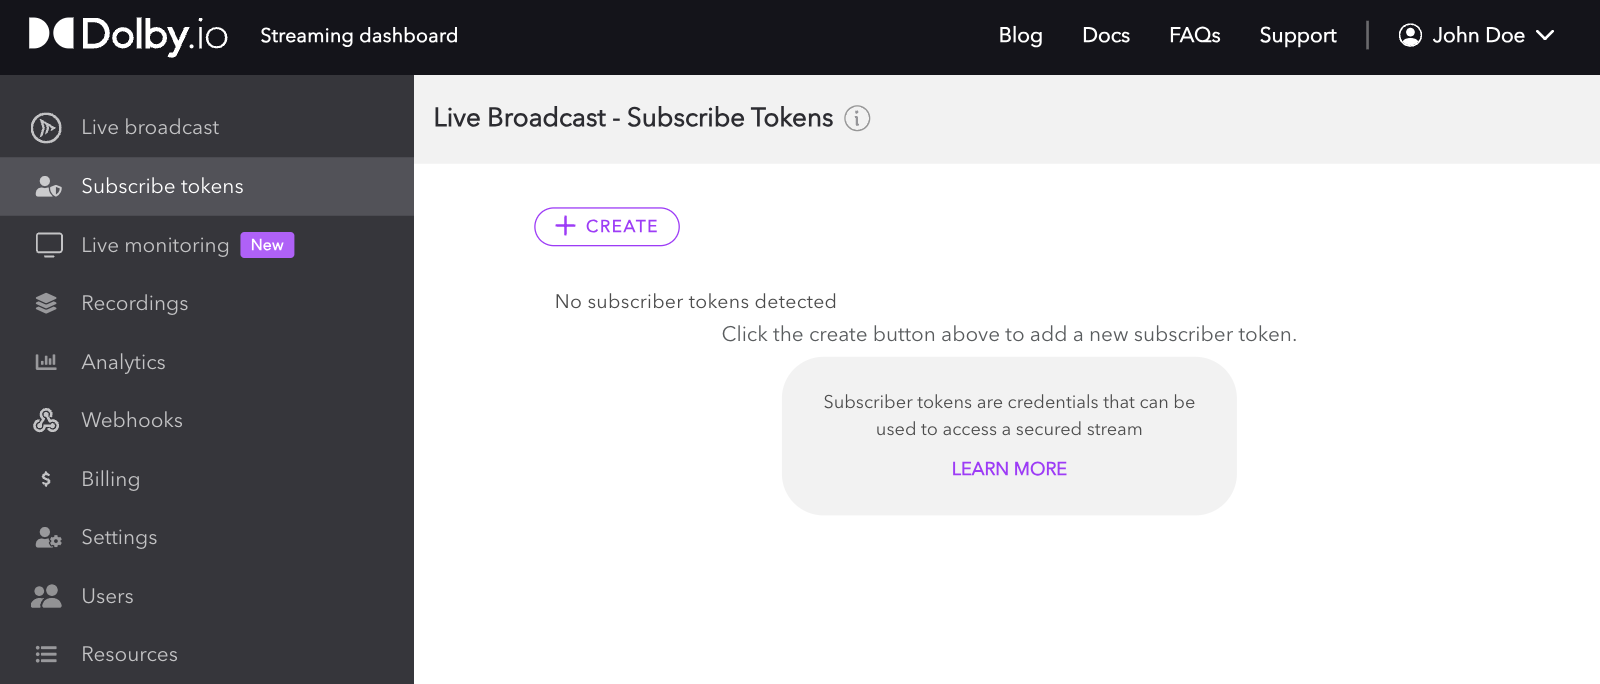
Begin by creating a token using the (+) Create button. This will open a popup window on your screen containing various options for your new token.
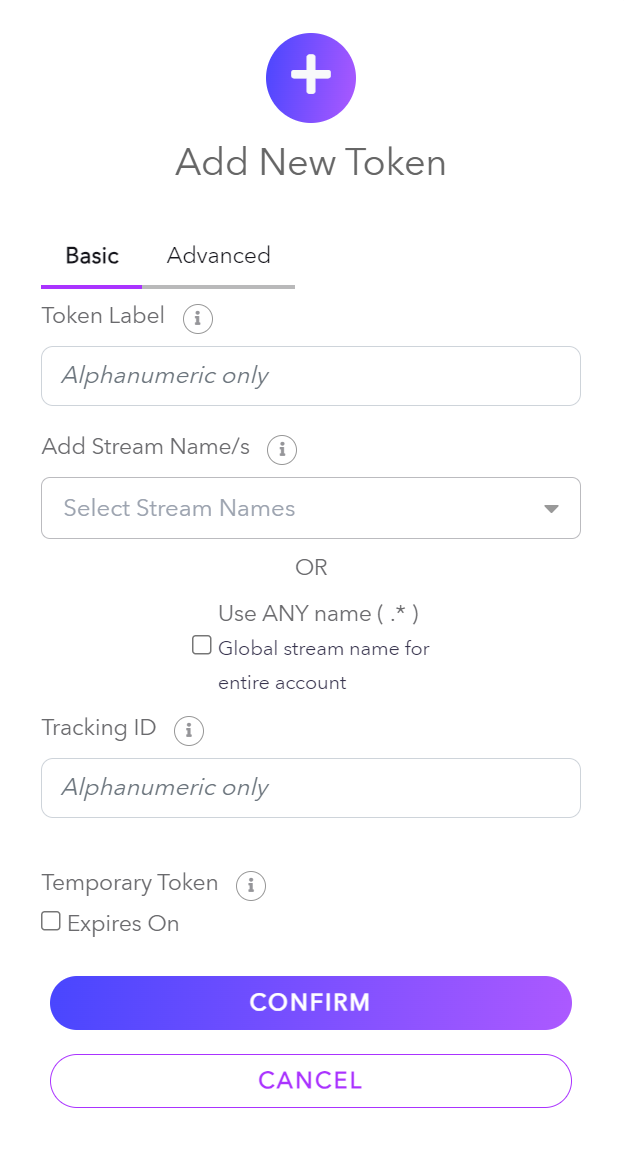
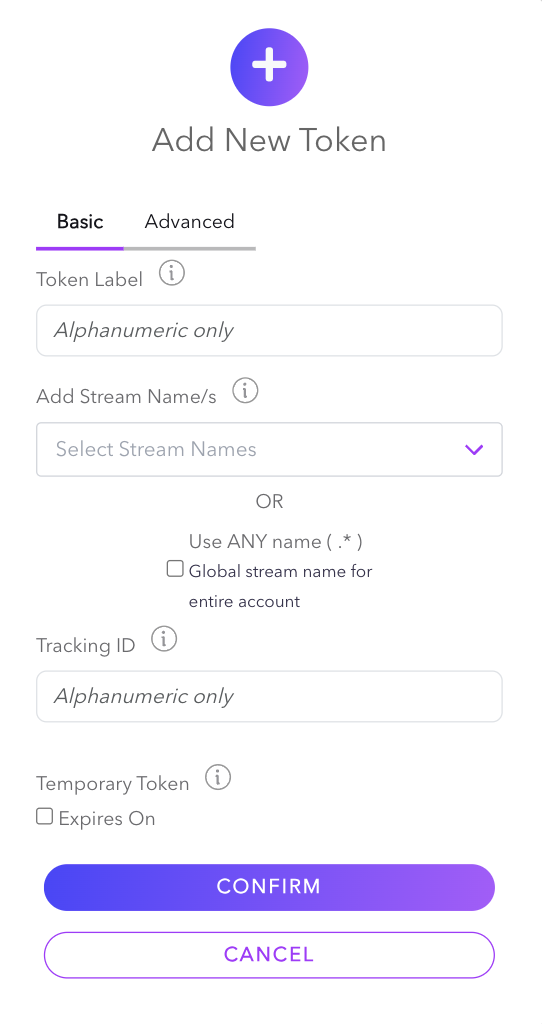
Let's go over each option in a bit more detail:
- The Token Label gives you a simple labeling system you can use to keep track of your tokens. You can use it to label what the tokens are for or identify testing tokens from your production ones.
- In the Add Stream Names list, select the Stream names from your current Publish tokens you want to give access to through the Subscribe token you are creating. For example, my new Subscribe token may give access to Stream names "TestStreamMainFeed", "TestStreamCam2", and "TestStreamCam3" all within my Publish token "LiveConcertPublishToken".
- You can also create a global Subscriber Token by marking the "Use ANY name" option.
- The Tracking ID lets you create an alphanumeric tracking ID that can be used for syndication to associate streaming statistics, such as bandwidth consumption, to various viewers on a stream. For more information, see Syndication.
- Temporary Token allows you to make your token temporary by giving the token an expiration date.
Advanced settings
You can switch from the top "Basic" tab to the "Advanced" tab in the token creation interface for more advanced token settings such as:
- Allowed origins: Only the domains in the list will be allowed in requests to the Director API with the token.
- IP filter type:
- IP Address: May specify multiple IPv4 addresses or CIDR notated network blocks. If specified, the token will only be usable by those addresses.
- Bind IPs on usage: If specified, will bind the token to the first X IP addresses used with a token in requests to Director API, thus restricting the token to those IP addresses without them being known beforehand. Mutually exclusive with "IP Addresses" option. Not currently supported with RTMP.
- Cluster region: Specifies the cluster used for streaming. This setting is configured to use the default regional cluster set for the account. If Auto is selected, the regional cluster will be selected based on the publisher's location.
- Geo-Blocking: Enables blocking by location at a country level for this specific token.
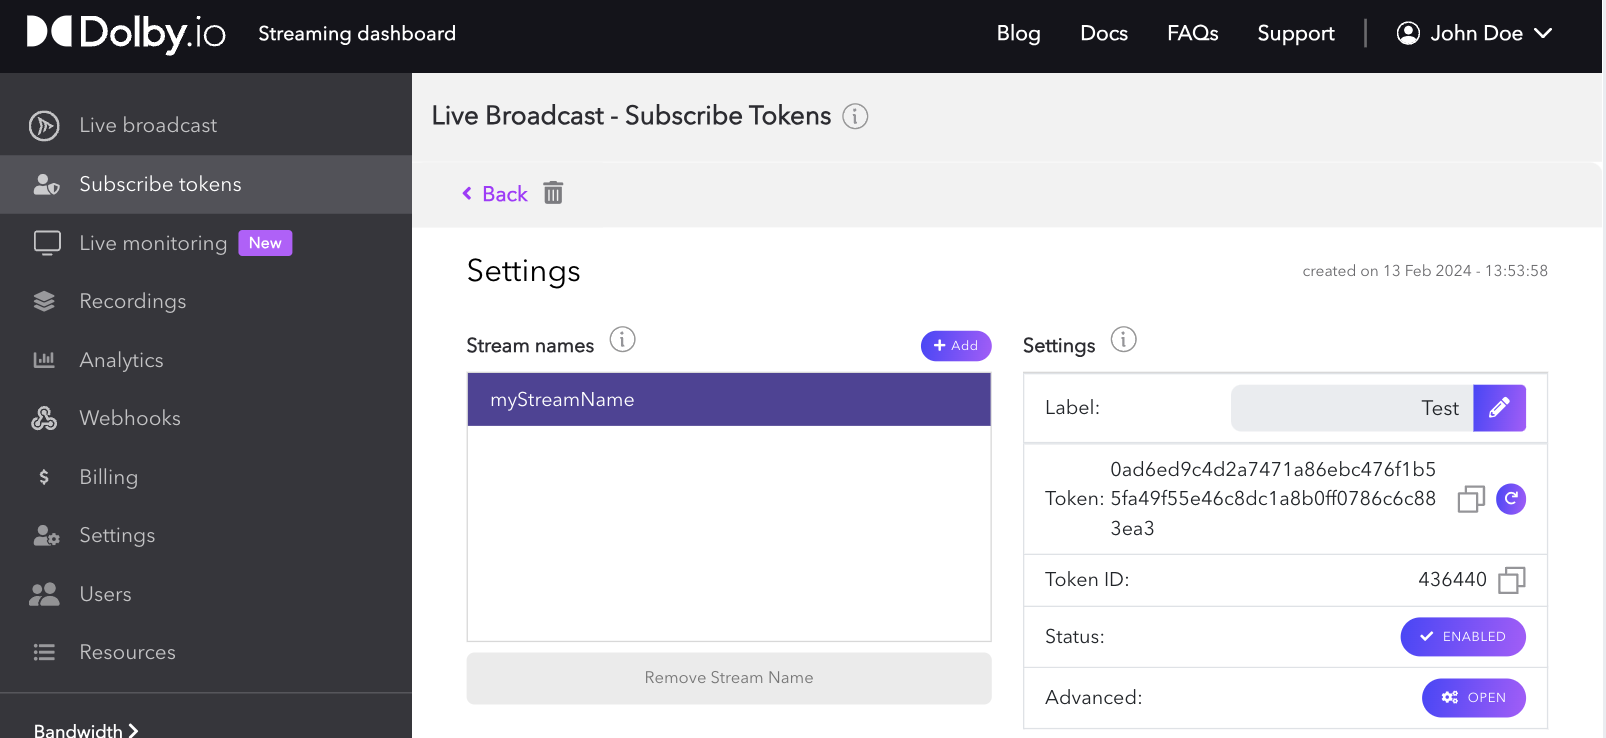
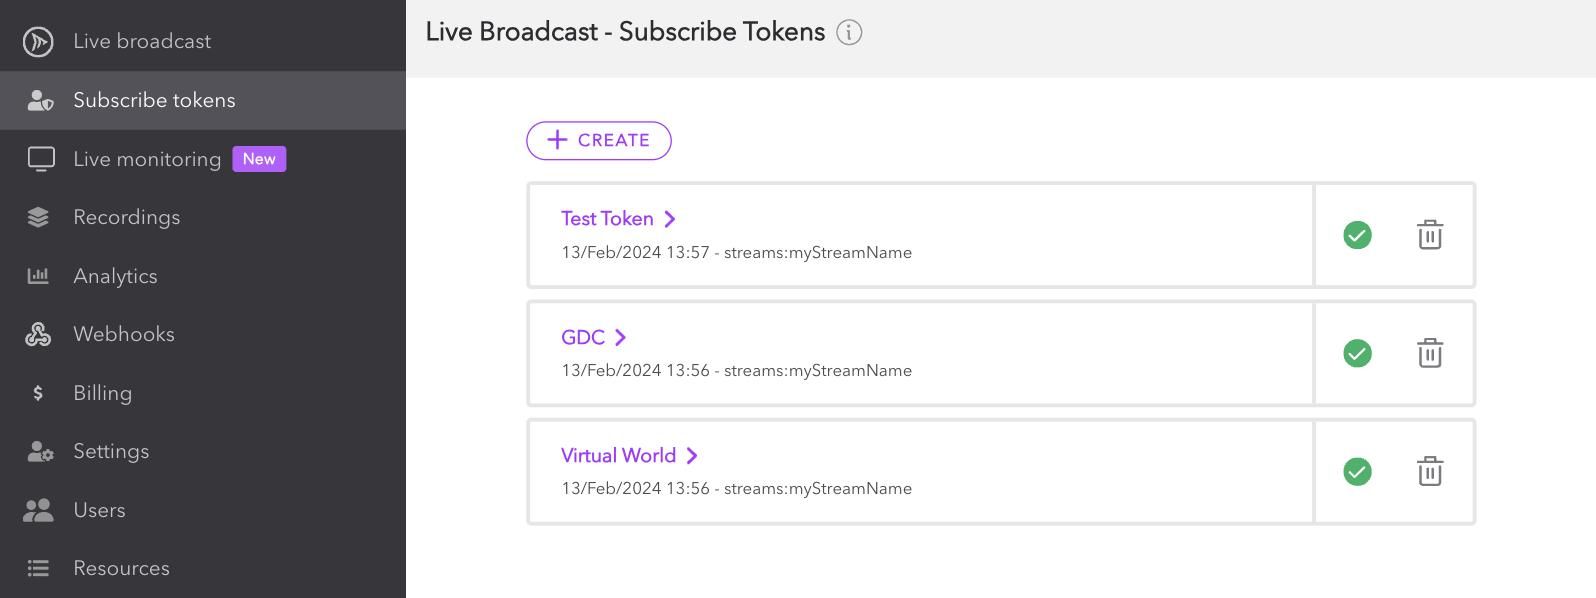
After you have successfully created your token, it will be displayed in a scrollable list.
Managing and editing existing subscribe tokens
Each token item has a quick action menu that provides you with options for enabling and deleting each token.

For more comprehensive management, open the manage view by simply clicking the token name.
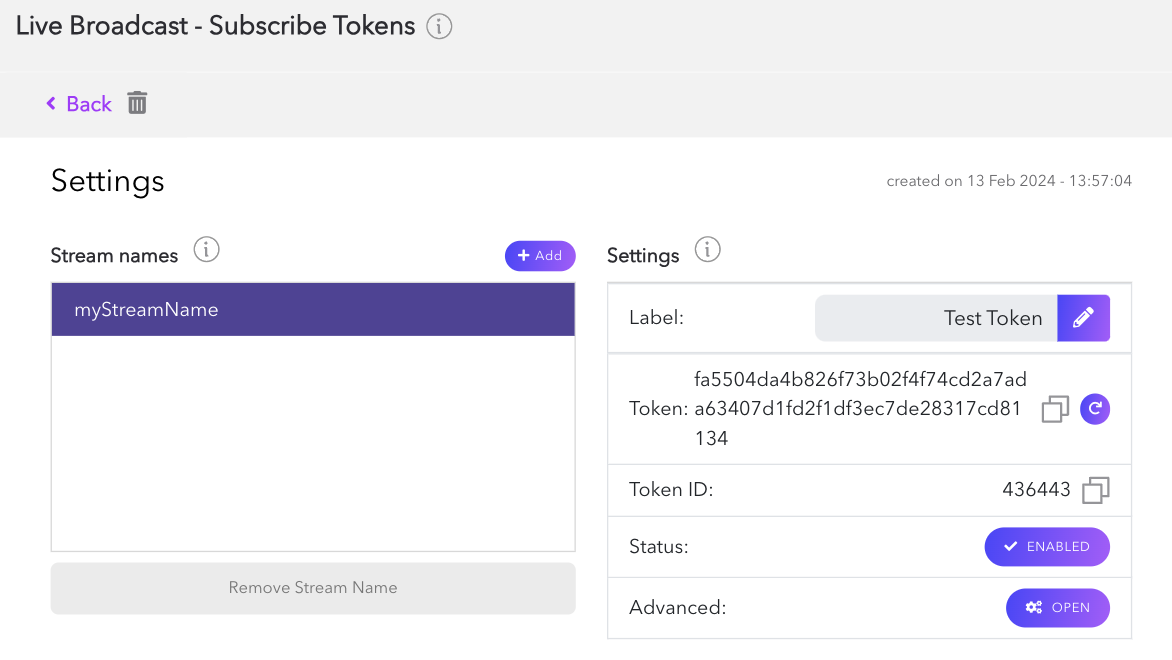
The manage view allows you to edit and view details attached to your token, including stream names, labels, status, renew token, geo-blocking, and deletion. You can learn about these settings in the Creating a Subscribe Token section.
Of note in the manage screen is the string of the Subscribe token itself. This token can be copied and used to authenticate a connection to view the stream. For example, if you want to use the in-browser viewer to watch a live broadcast, append the Subscribe token on the end to use the unsecured URL:
https://viewer.millicast.com?streamId=[Account ID]/[Stream Name]&token=[Subscribe Token]
Unsecure URL
The above example exposes the subscribe token in the URL. To prevent URL or token sharing, serve each viewer a unique subscribe token with the BindsIPAddressOnUsage parameter enabled to bind the token to the user.
Depending on the scale of your production, it may not be secure or feasible to create tokens via the dashboard. Instead, you can create tokens via the Token API, or, for true scalability, you can self-sign tokens.
Deleting subscribe tokens
Once you've finished using a Subscribe token, it is recommended that you retire the token by deleting it to prevent accidental vulnerabilities. Deleting the token can be done from the quick action menu found at the top-level Subscribe Tokens page by clicking on the trash can icon.

Self-signing subscribe tokens
The Dolby.io Real-Time Streaming APIs support the ability to self-sign Subscribe tokens without having to make an API call. Self-signing the token locally allows you to generate your Subscribe token more efficiently. The self-signed token is a user-generated JSON Web Token (JWT) that is generated from an existing Subscribe token.
The Subscribe token functions as a parent token, and any self-signed token generated from this will inherit any restrictions or parameters that are specified when the Subscribe token is created. The self-signed token can be passed to the Dolby.io Real-time Streaming service, the same as any regular Subscribe token, but is then validated against the Subscribe token that was originally used to sign it.
Self-signing your Subscribe token allows you to:
- Sign the Subscribe token locally in the programming language of your choice as long as it uses one of the following signing algorithms:
HMACSHA256HMACSHA384HMACSHA512
- Reduce the number of API calls to the Dolby.io Server
- Track bandwidth usage with each of the self-signed tokens
Creating a self-signed token
- Create a Subscribe token using the Create Token API. The API returns the
tokenIdandtoken. - Create a JWT with the following data:
tokenId: The ID of the (primary) subscribe tokenstreamName: A complete, non-wildcardstreamNamethat the subscriber will be allowed access to viewallowedOrigins(optional): Origins that allow the stream to be viewed fromallowedIpAddresses(optional): IP ranges that allow the stream to be viewed fromtrackingID(optional): ID to syndicate content across multiple partners or providers. This ID can be used to group viewers of the same stream for analytics purposes.expires_in(optional): Number of seconds before the token expires. If the parent token expires before the self-signed token, the self-signed token will also expire.customViewerData(optional): A unique identifier of a viewer that allows getting the viewer's bandwidth consumption while using syndication. Using this parameter requires contacting sales.
- Sign the JWT using the Subscribe token as the key and set an expiration for the JWT.
Code Examples
Examples of self-singing a token can be found at this GitHub repository.
Limitations
- The published stream and Subscribe token must originate from the same cluster region. The "Auto" region may be selected for both if the broadcast region changes from stream to stream. For more information, see Multi-region Support.
- The only fields in the self-signed token that are added to the primary subscriber token are the allowedOrigins and allowedIPAddresses. These do not replace any allowedOrigins or allowedIPAddresses in the primary Subscriber token but are appended onto any existing restrictions. Anything else packaged into the JWT is ignored.
- If the primary Subscriber token contains a TrackingID, the self-signed token must use the same TrackingID. However, if the primary Subscriber token does not specify a TrackingID, any TrackingID can be used in the self-signed token.
- The Stream name can differ in the self-signed token when using a regex value. If the primary Subscriber token doesn't validate the Stream name (via regex match) in the self-signed token, then it is rejected.
- Self-signed tokens are not revocable and must be cycled if exposed.
- If the parent Subscribe token has specific streams in it, then the self-signed Subscribe token must match one of them.
Using the Token API
Self-sign your Subscribe tokens!
Using the Token API is great for producing a few tokens, but for true scalability and speed you should self-sign your tokens.
This guide provides a high-level understanding of managing your tokens via the Dolby.io dashboard. Whilst the dashboard is a great choice for managing publish and subscribe tokens, all aspects of token creation and management can be programmatically controlled via the Dolby.io Streaming Token REST APIs. By utilizing the Token APIs to automate workflows, you can create scalable streaming solutions for your application or platform.
To learn more about using the REST APIs for token creation and management, check out:
Updated 11 months ago