1. Use the Streaming Dashboard
Getting Started by using the Real-time Streaming Dashboard
This part explains how to get started using just the Dolby.io Streaming Dashboard to both broadcast and playback a real-time stream without writing any code.
This tutorial is split into two sections:
1.1 Capture and broadcast from the Dolby.io dashboard
We will begin by broadcasting directly from the Dolby.io Streaming Dashboard, capturing audio and video with a web camera.
a. Create a publish token
When you log into your Dolby.io account you should select the Streaming tab. If you haven't used your account before, you'll see a screen similar to Figure 1a below.
Figure 1a: The Live broadcast page in the Dolby.io dashboard.
Click the + CREATE button and you'll be prompted to configure a new token. The token is used to authenticate an application for publishing a live stream from your account.
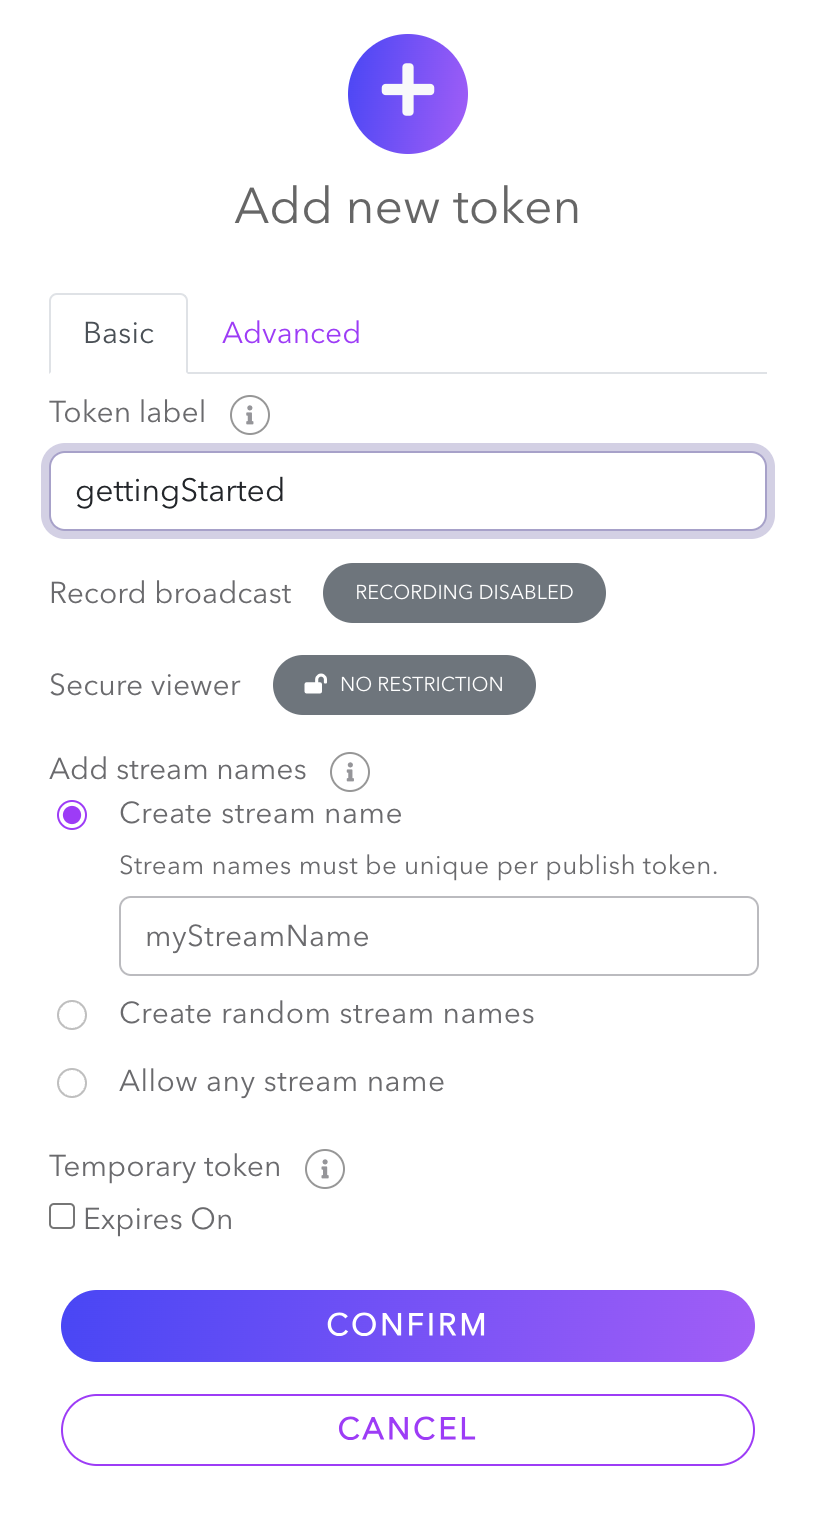
Figure 1b: Add a new token prompt.
Give this token a meaningful label such as gettingStarted and click the CONFIRM button. You can have more than one stream using the same token, so each can be labeled independently such as this one having the default myStreamName.
b. Start broadcast
Return to the Live broadcast section and click the BROADCAST button.

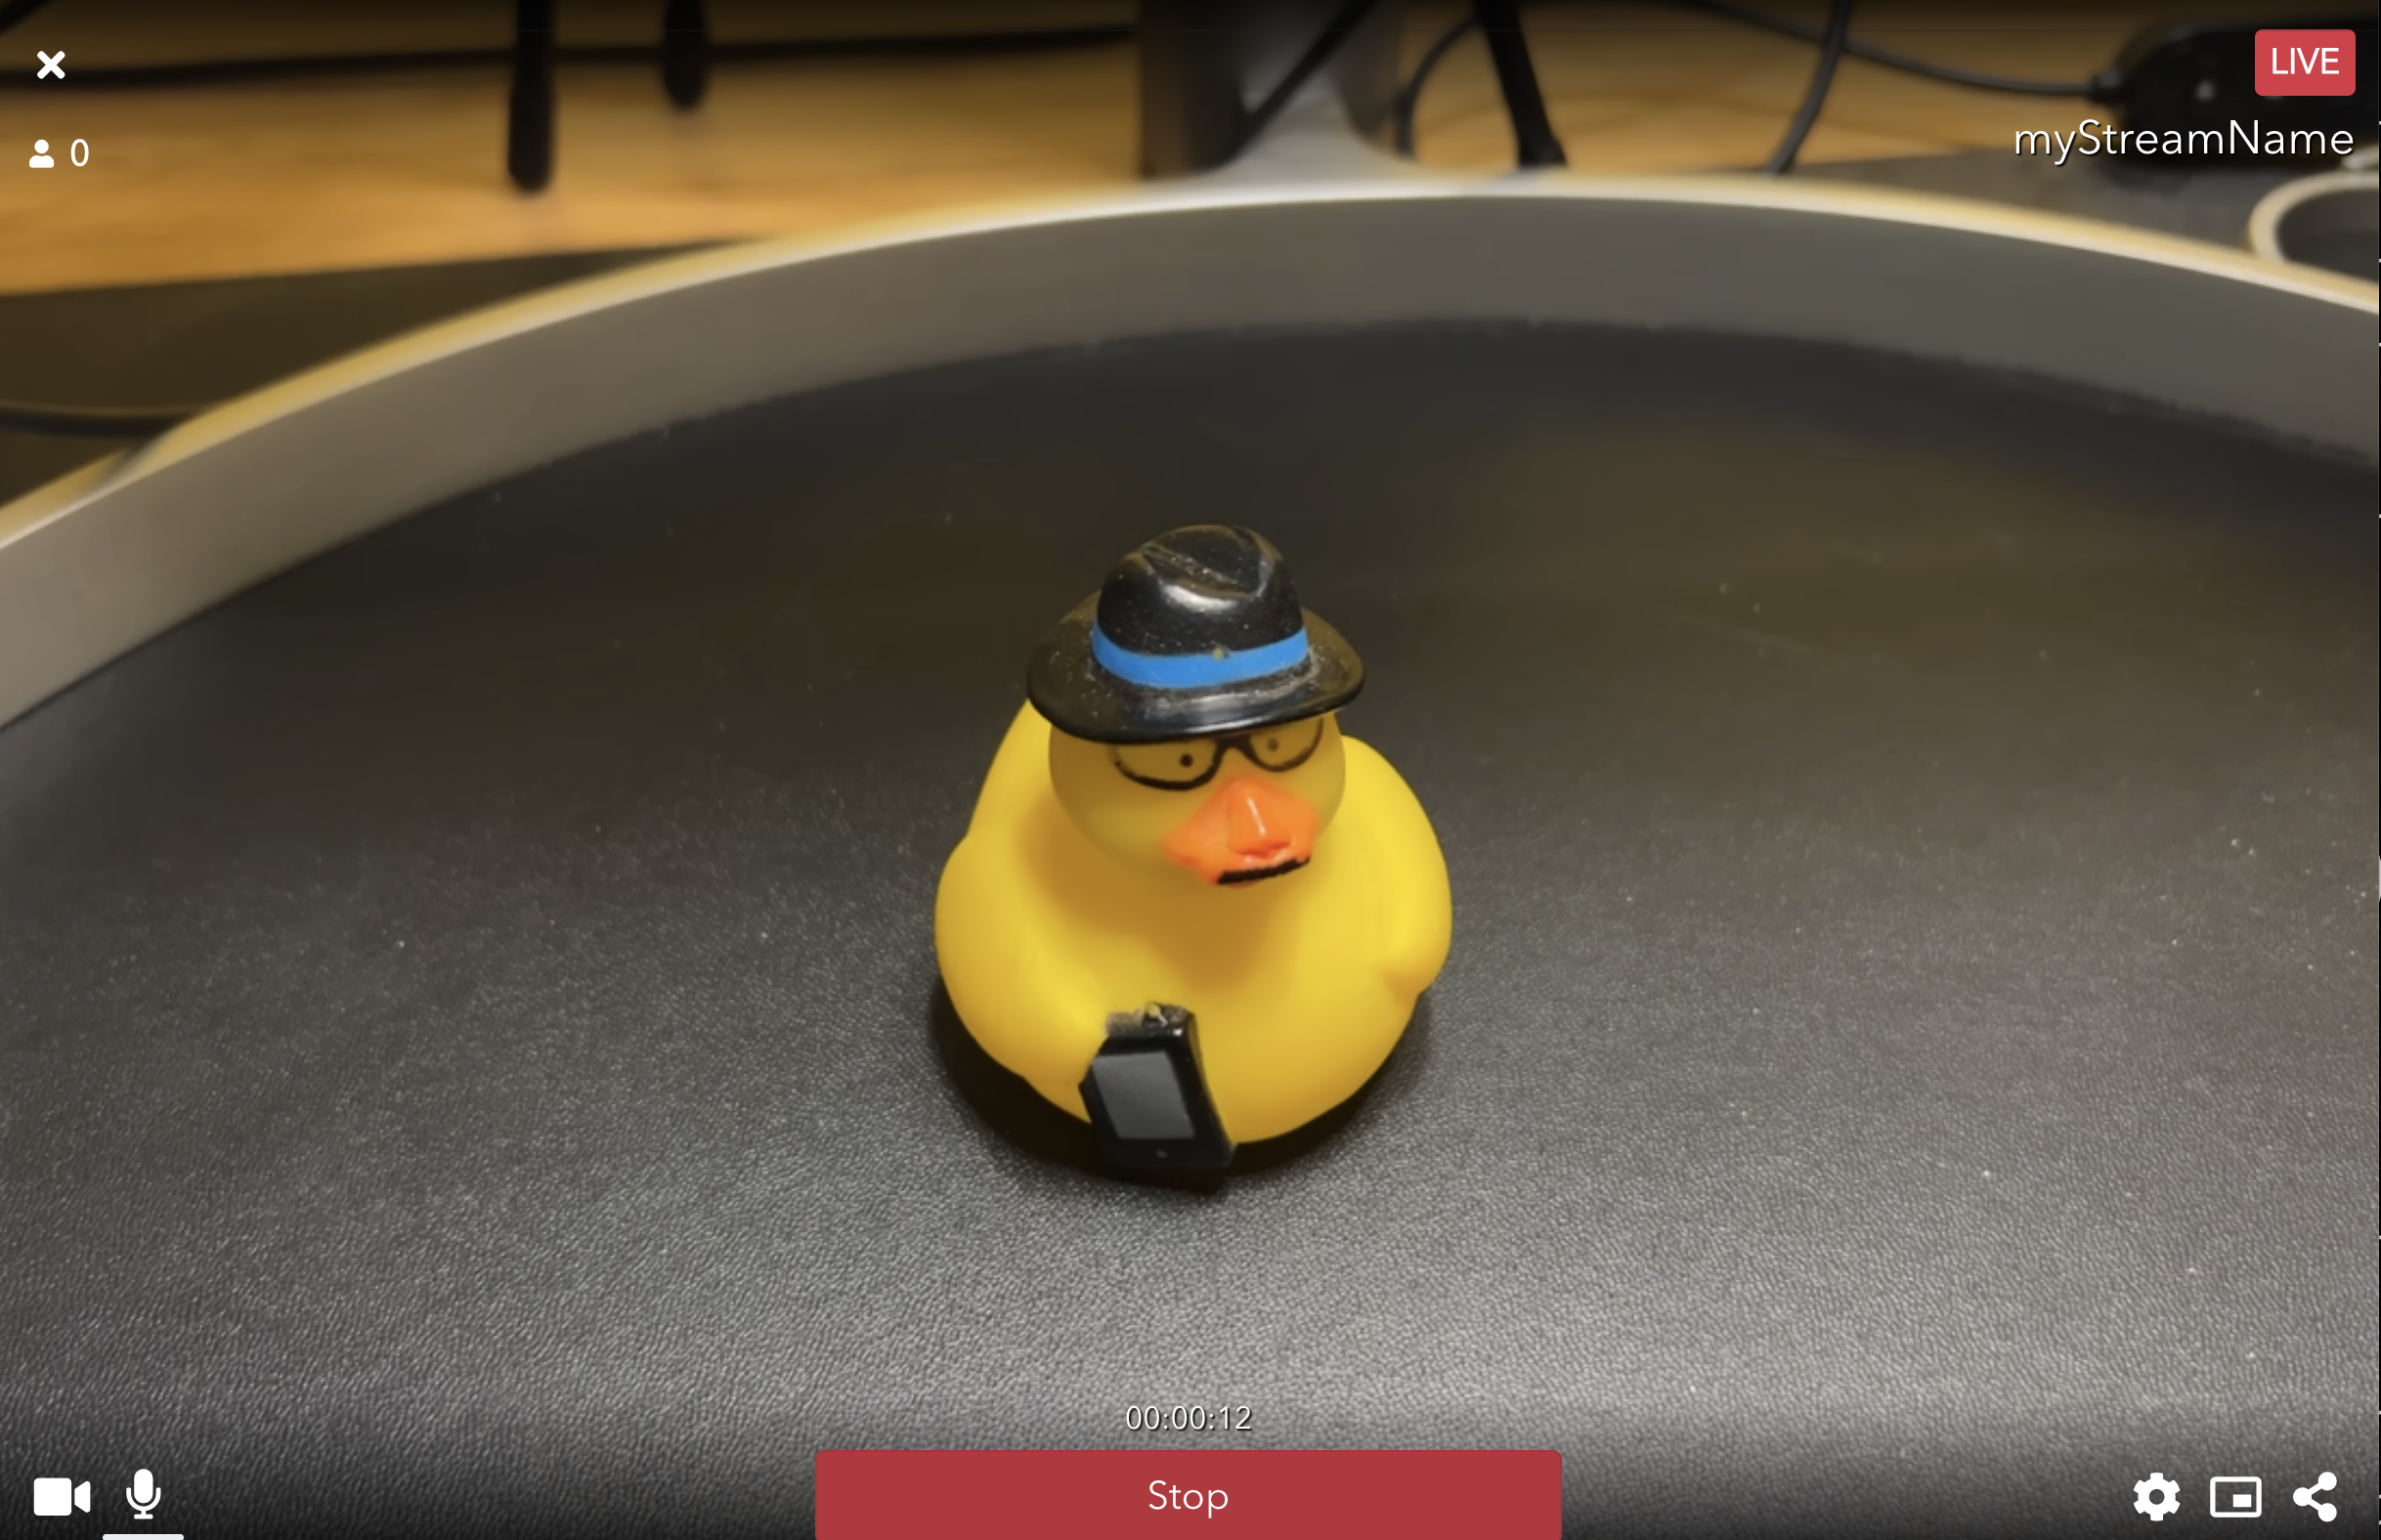
From the dashboard broadcast application that opens, click the green Start button to begin a broadcast. You will need to give permission to access your microphone and camera. Once the stream begins, you can see the LIVE box in the upper right corner and a timecode for the duration of the stream above the Stop button.
Broadcast Guide
Visit the How to Broadcast in Dashboard guide to learn more details about the options available for configuring the publish token and working with this dashboard broadcast application.
1.2 Playback content with the streaming viewer
In the previous section, you created a publishing token and started to broadcast. Next, we will open a hosted streaming viewer to playback the real-time stream.
In the lower right-hand corner of the dashboard broadcast application are some icons. Click on the sharing icon like the one circled in Figure 2a.
Figure 2a: Click share button.
Click the LAUNCH button to open the hosted live viewer.
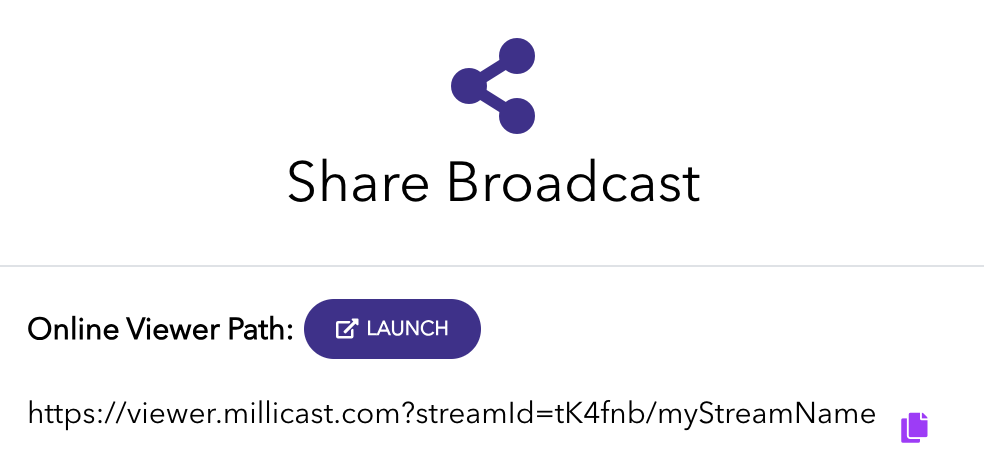
Figure 2b: Launch hosted online stream viewer.
It may seem like you are watching a local mirror of your video camera, but this feed is making a full round-trip to the servers and back to the browser again. Note the low delay between capture from the webcam and playback within the browser.
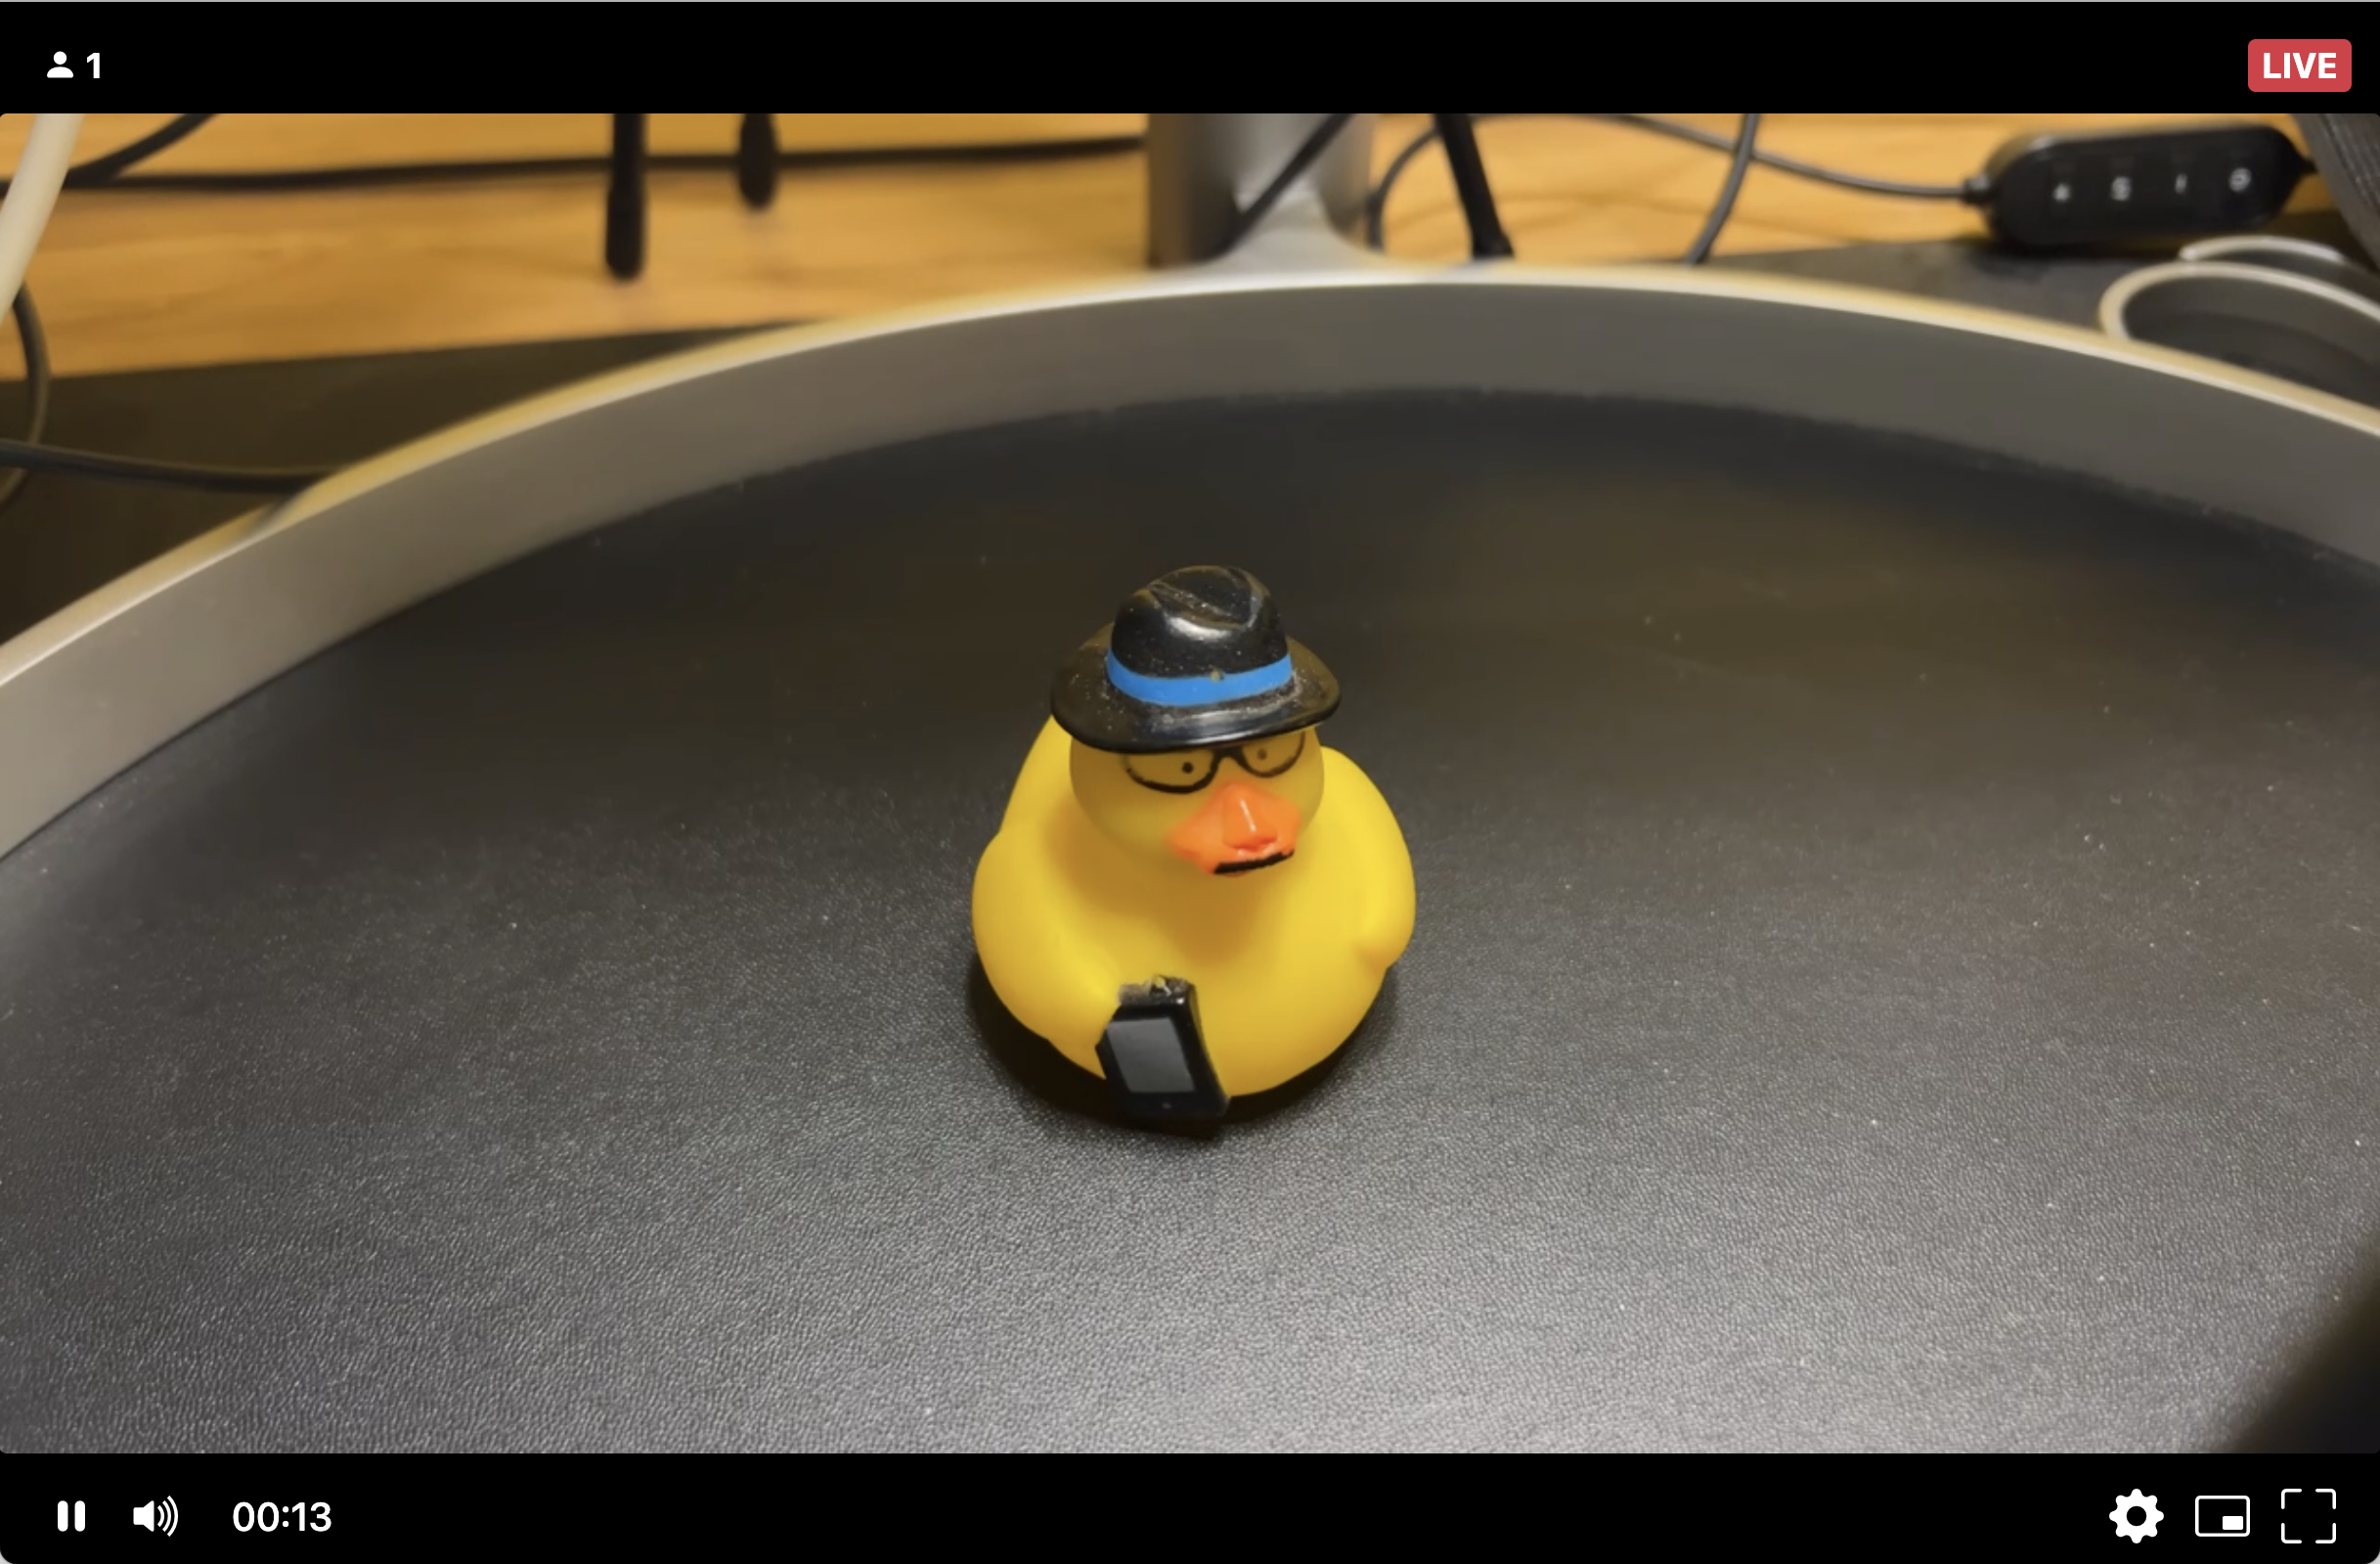
The viewer has some user controls to pause the stream, configure settings, and view the number of other stream viewers.
Continue learning
In this tutorial, we were able to start and view a real-time stream. To continue with your project, you may want to customize the experience. The next part will help with getting started to build a custom web application.
Updated 11 months ago