Osprey
Using Osprey Talon WHIP Hardware Encoder
Osprey Video is a world leader in broadcasting solutions and an early adopter of WHIP for their Osprey Talon 4K-SC Encoder. By supporting WHIP, Osprey is able to offer an encoder that can natively encode WebRTC streams at broadcast-level quality for a variety of applications, such as sports broadcasting, live event broadcasting, and auction streaming.
You can originate a broadcast from Osprey over a WHIP or SRT source.
Getting Started
If you haven't already, begin by following the Getting Started tutorial to start your first broadcast. You'll need your publish token and stream name for the steps described below.
See the official Osprey Video site for documentation, installation instructions, and additional support.
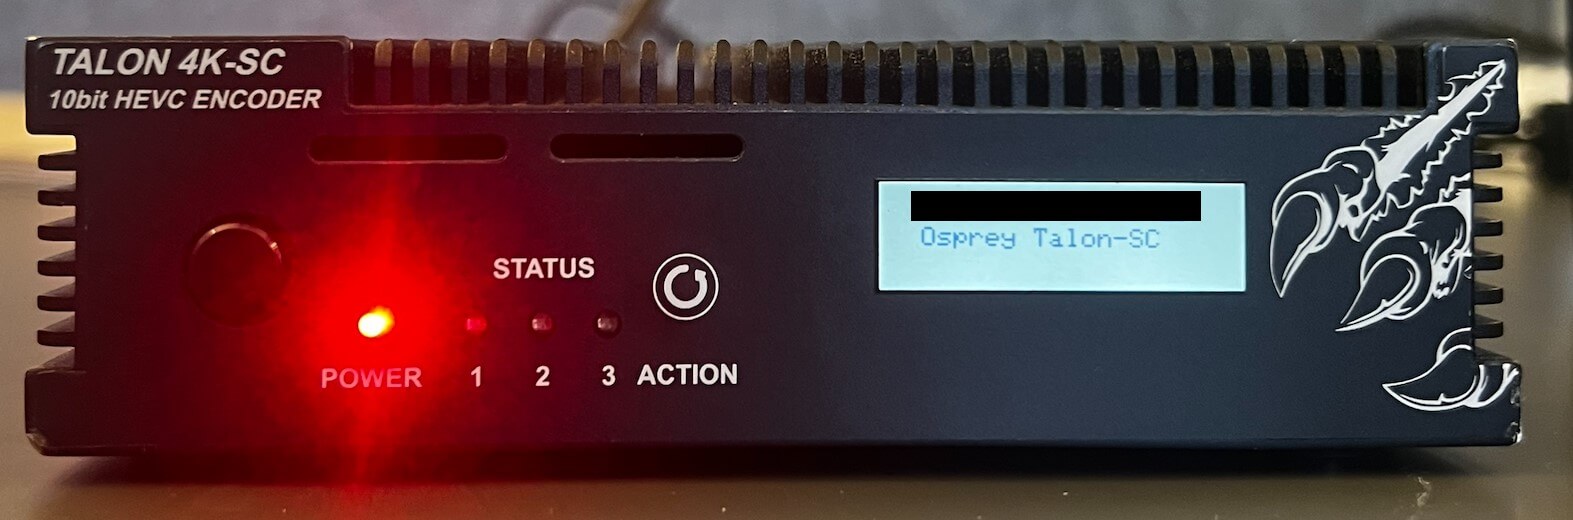
Osprey Talon
For cameras that don’t have built-in encoders, you can connect the camera to an external encoder such as the Osprey Talon.

You'll need to plug an ethernet connection and a power supply into your Talon encoder and power the device on.
Once powered on, the device will be discoverable on your local network. You can interface with the device by opening the IP address in your browser, or, if you are a Windows user, you can download the Osprey Boss Pro, which provides a UI for finding the encoder.
Once found in your browser, you'll be prompted to log into the device. Refer to the Osprey Talon Encoder User Manual to learn about your device's username and password.

How-to use Osprey Talon with WHIP
To get started, you'll have to login to a Dolby.io account. Within the account, you'll need the Stream Name and Publishing Token.
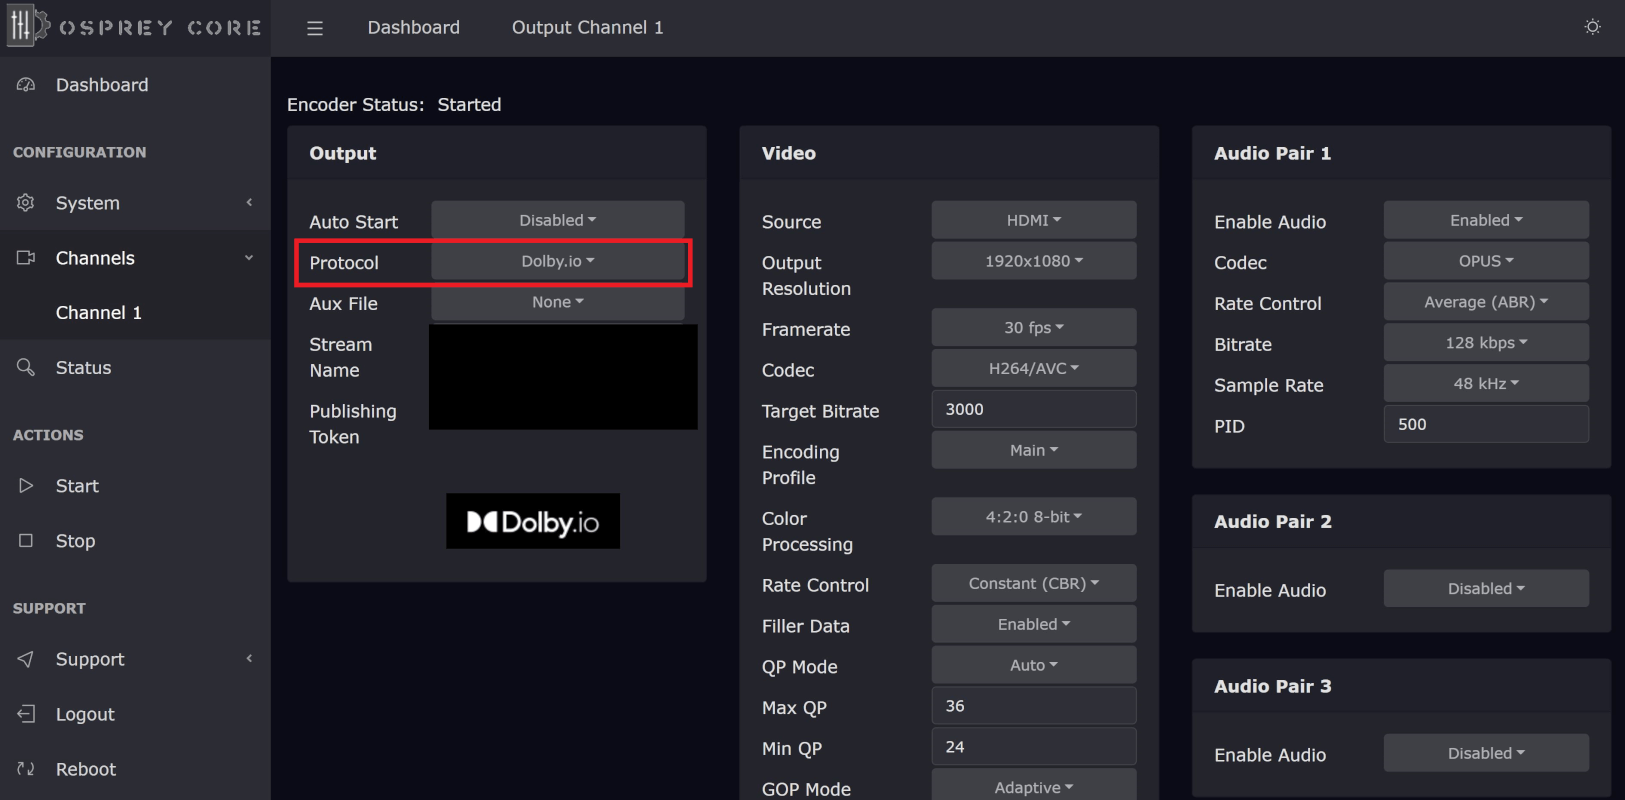
Inside the encoder UI, click on the Channels tab. From the Channels tab, set the protocol to Dolby.io (WebRTC). Enter your Stream Name and Publishing Token in the corresponding fields.
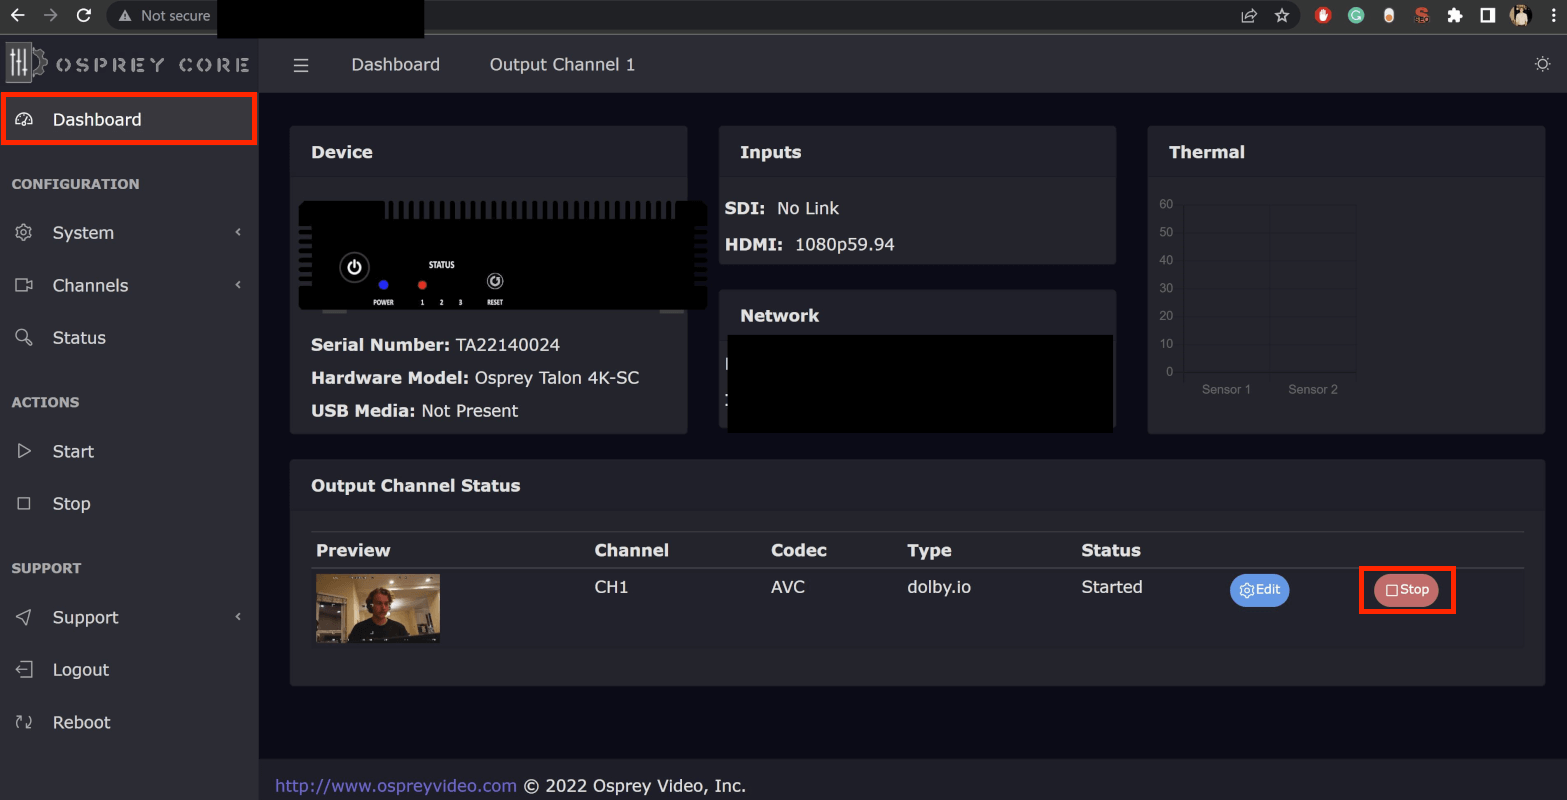
After inputting your credentials, switch to the Dashboard tab and click the green button to start the broadcast.
The stream is now live. To view the stream, navigate back to your newly created token on the Dolby.io Dashboard and switch to the Playback tab. From the Playback tab, copy the Hosted Player Path URL and open it in your browser.
How-to use Osprey Talon with SRT
To get started, you'll have to login to a Dolby.io account. Within the account, you'll need the SRT stream ID and SRT publish path.
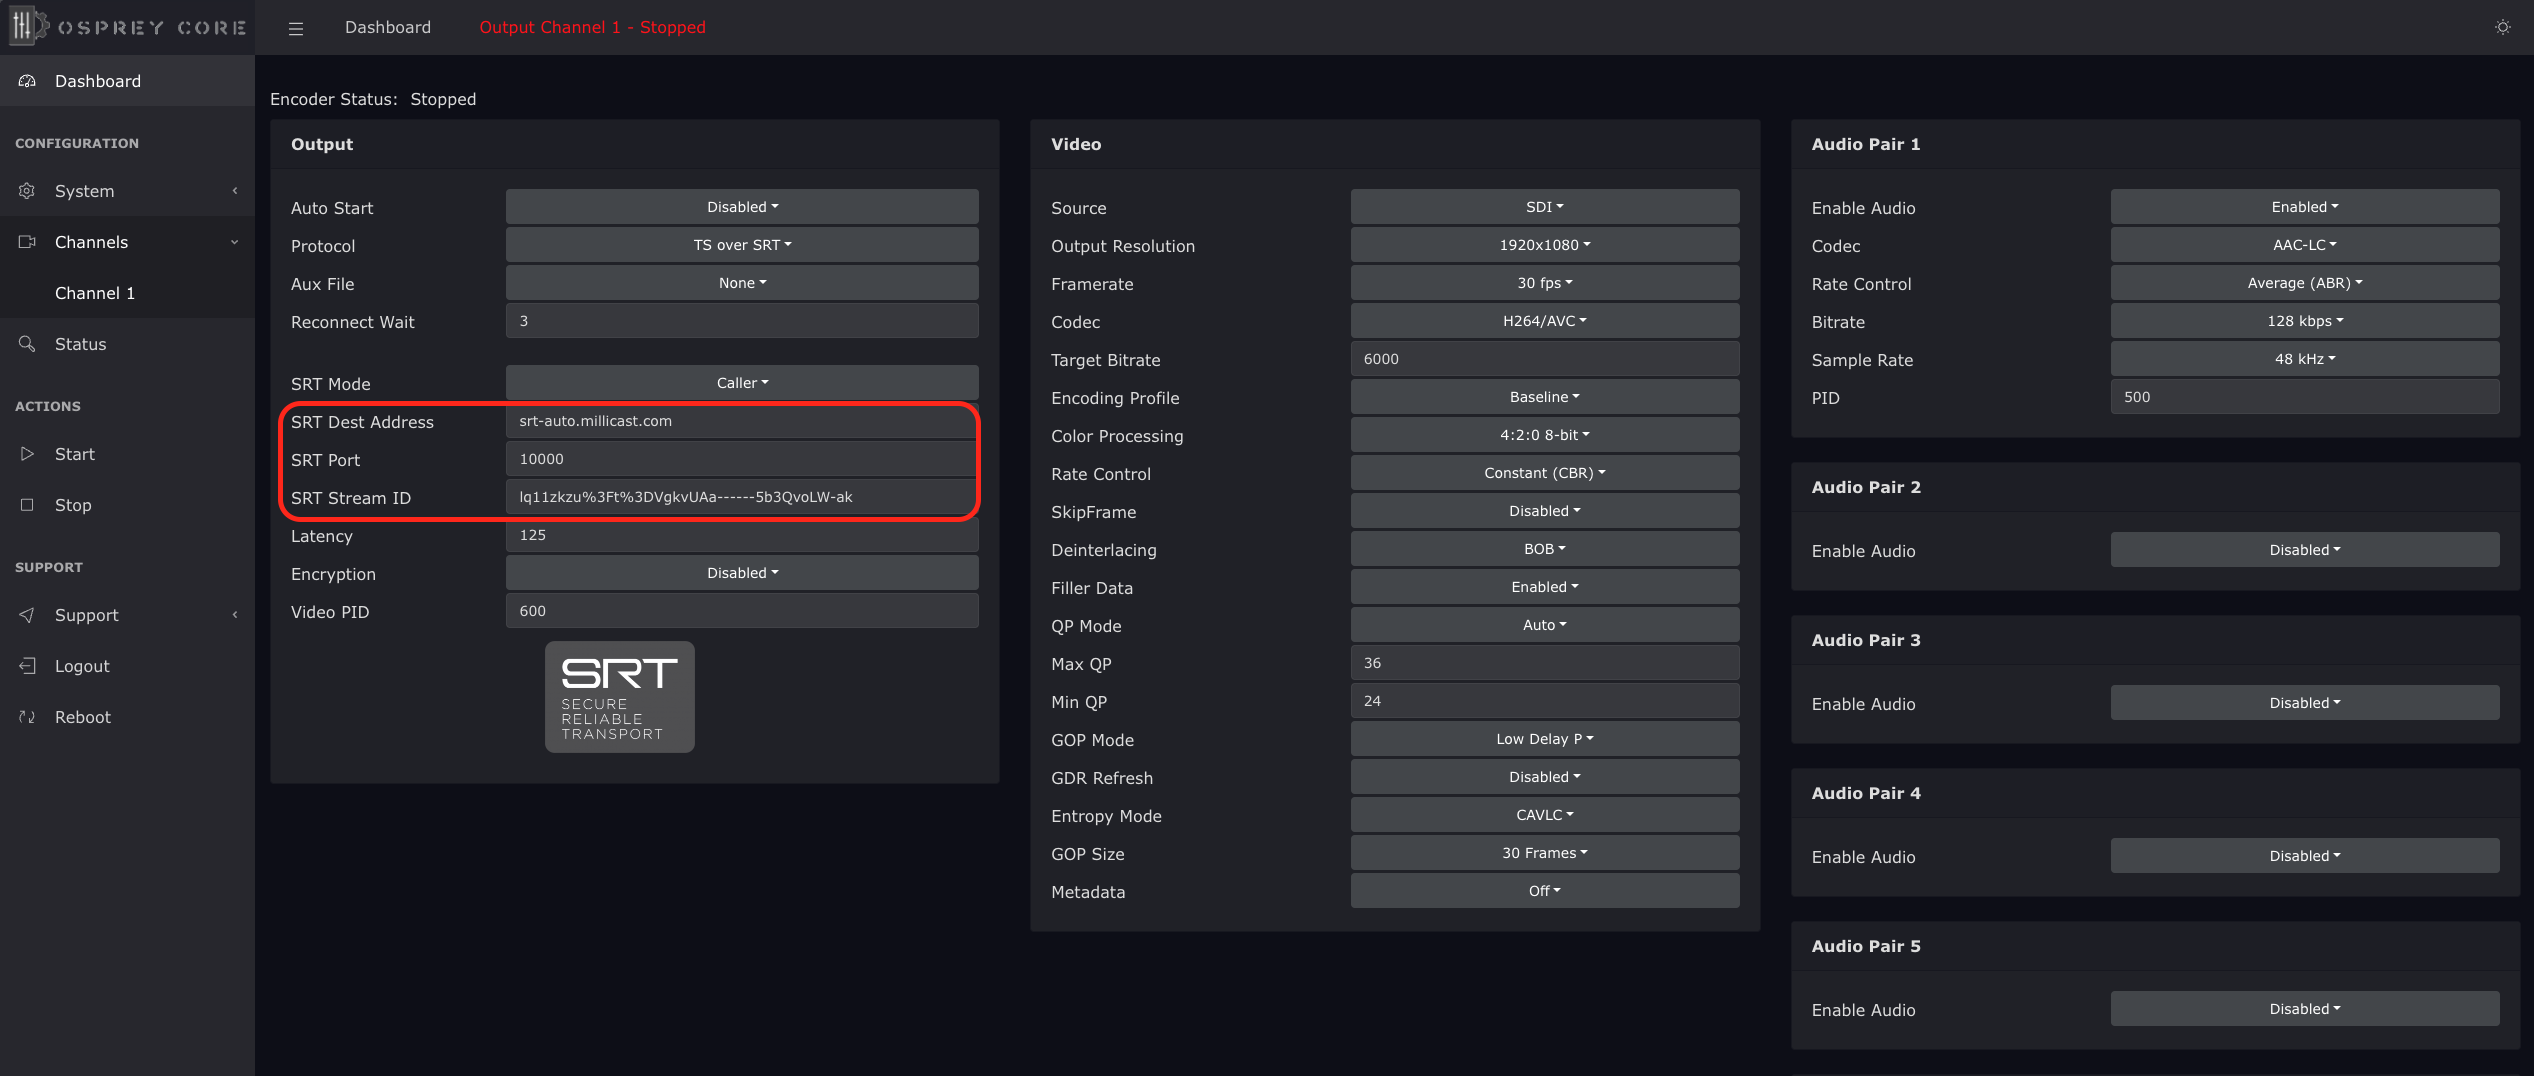
Inside the encoder UI, click on the Channels tab. From the Channels tab, set the protocol to TS over SRT.
- For the
SRT Dest Addressinput the SRT publish path with the port kept separate in theSRT Port. - The value of the
SRT Stream IDmust be URL encoded. To get that URL encoded value, look for the SRT publish URL and copy the string of characters after_?streamId=_. For example, "lq11zkzu%3Ft%3DVgkvUAa5b3QvoLW5b3QvoLW5b3QvoLW-ak".
Once configured, you can press start and the encoder will begin streaming content.
Turn on SRT encryption
To enable SRT encryption for the SRT feed, in the Dolby.io dashboard for your stream token, enable Passphrase encryption and copy the SRT passphrase.
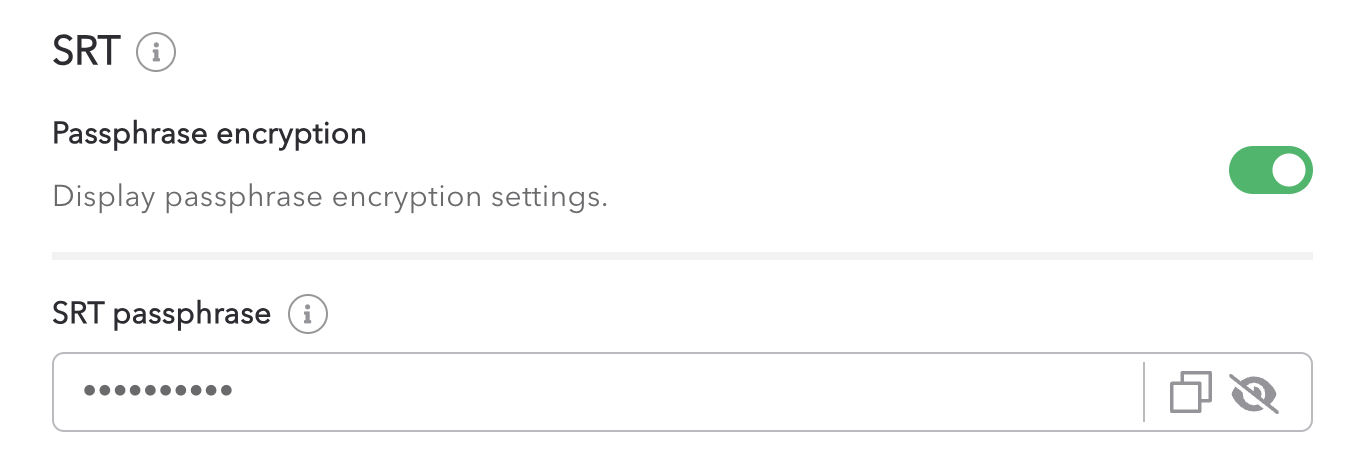
In the Osprey Talon dashboard, enable AES-128 Encryption and paste the passphrase.

Once configured, you can press start and the encoder will begin streaming content.
Learn more
Learn more by exploring the developer blog and code samples.
Updated about 1 year ago